End-To-End Type-Safety with GraphQL, Prisma & React: GraphQL API

In this series you are learning how to implement end-to-end type safety using React, GraphQL, Prisma, and some other helpful tools that tie those three together.
Table Of Contents
- Introduction
- Start up a GraphQL server
- Set up the schema builder
- Define a
Datescalar type - Add the Pothos Prisma plugin
- Create a reusable instance of Prisma Client
- Define your GraphQL types
- Implement your queries
- Apply the GraphQL schema
- Summary & What's next
Introduction
In this section, you will build upon the project you set up in the previous article of this series by fleshing out a GraphQL API.
While building this API, you will focus on ensuring your interactions with the database, data handling within your resolvers, and data responses are all type-safe and that those types are in sync.
Start up a GraphQL Server
The very first thing you will need to build a GraphQL API is a running GraphQL server. In this application, you will use GraphQL Yoga as your GraphQL server.
Install the @graphql-yoga/node and graphql packages to get started:
npm install @graphql-yoga/node graphqlWith those packages installed, you can now start up your own GraphQL server. Head over to src/index.ts. Replace the existing contents with the this snippet:
// src/index.ts

// 1
import { createServer } from "@graphql-yoga/node";
// 2
const port = Number(process.env.API_PORT) || 4000
// 3
const server = createServer({
  port
});
// 4
server.start().then(() => {
  console.log(`🚀 GraphQL Server ready at http://localhost:${port}/graphql`);
});
The code above does the following:
- Imports the
createServerfunction from GraphQL Yoga - Creates a variable to hold the API's port, defaulting to
4000if one is not present in the environment - Creates an instance of the GraphQL server
- Starts the server up on port
4000and lets the console know it's up and running
If you start up your server, you will have access to a running (empty) GraphQL API:
npm run dev
Note: The GraphQL server is up and running, however it is not usable because you have not yet defined any queries or mutations.
Set up the schema builder
GraphQL uses a strongly typed schema to define how a user can interact with the API and what data should be returned. There are two different approaches to building a GraphQL schema: code-first and SDL-first.
- Code-first: Your application code defines and generates a GraphQL schema
- SDL-first: You manually write the GraphQL schema
In this application, you will take the code-first approach using a popular schema builder named Pothos.
To get started with Pothos, you first need to install the core package:
npm i @pothos/coreNext, create an instance of the Pothos schema builder as a sharable module. Within the src folder, create a new file named builder.ts that will hold this module:
cd src
touch builder.ts
For now, import the default export from the @pothos/core package and export an instance of it named builder:
// src/builder.ts

import SchemaBuilder from "@pothos/core";
export const builder = new SchemaBuilder({});
Define a Date scalar type
By default, GraphQL only supports a limited set of scalar data types:
- Int
- Float
- String
- Boolean
- ID
If you think back to your Prisma schema, however, you will remember there are a few fields defined that use the DateTime data type. To handle those within your GraphQL API, you will need to define a custom Date scalar type.
Fortunately, pre-made custom scalar type definitions are available thanks to the open-source community. The one you will use is called graphql-scalars:
npm i graphql-scalarsYou will need to register a Date scalar with your schema builder to let it know how to handle dates. The schema builder takes in a generic where you can specify various configurations.
Make the following changes to register the Data scalar type:
// src/builder.ts

import SchemaBuilder from "@pothos/core";
// 1
import { DateResolver } from "graphql-scalars";

// 2
export const builder = new SchemaBuilder<{
  Scalars: {
    Date: { Input: Date; Output: Date };
  };
}>({});

// 3
builder.addScalarType("Date", DateResolver, {});
Here's what changed in the snippet above. You:
- Imported the
Datescalar type's resolver which handles converting values to the proper date type within your API - Registered a new scalar type called
"Date"using theSchemaBuilder'sScalarsconfiguration and configured the JavaScript types to use when accessing and validating fields of this type - Let the builder know how to handle the defined
Datescalar type by providing the importedDateResolver
Within your GraphQL object types and resolvers, can now use the Date scalar type.
Add the Pothos Prisma plugin
The next thing you need to do is define your GraphQL object types. These define the objects and fields your API will expose via queries.
Pothos has a fantastic plugin for Prisma that makes this process a lot smoother and provides type safety between your GraphQL types and the database schema.
Note: Pothos can be used in a type-safe way with Prisma without using the plugin, however that process is very manual. See details here.
First, install the plugin:
npm i @pothos/plugin-prismaThis plugin provides a Prisma generator that generates the types Pothos requires. Add the generator to your Prisma schema in prisma/schema.prisma:
diff
// prisma/schema.prisma

generator client {
  provider = "prisma-client-js"
}

+generator pothos {
+  provider = "prisma-pothos-types"
+}

datasource db {
  provider = "postgresql"
  url      = env("DATABASE_URL")
}

model User {
  id        Int       @id @default(autoincrement())
  name      String
  createdAt DateTime  @default(now())
  messages  Message[]
}

model Message {
  id        Int      @id @default(autoincrement())
  body      String
  createdAt DateTime @default(now())
  userId    Int
  user      User     @relation(fields: [userId], references: [id])
}
Once that is added, you will need a way to generate Pothos' artifacts. You will need to install this API's node modules and regenerate Prisma Client this each time this application is deployed later in the series, so go ahead and create a new script in package.json to handle this:
// package.json
{
// ...
"scripts": {
// ...
"build": "npm i && npx prisma generate"
}
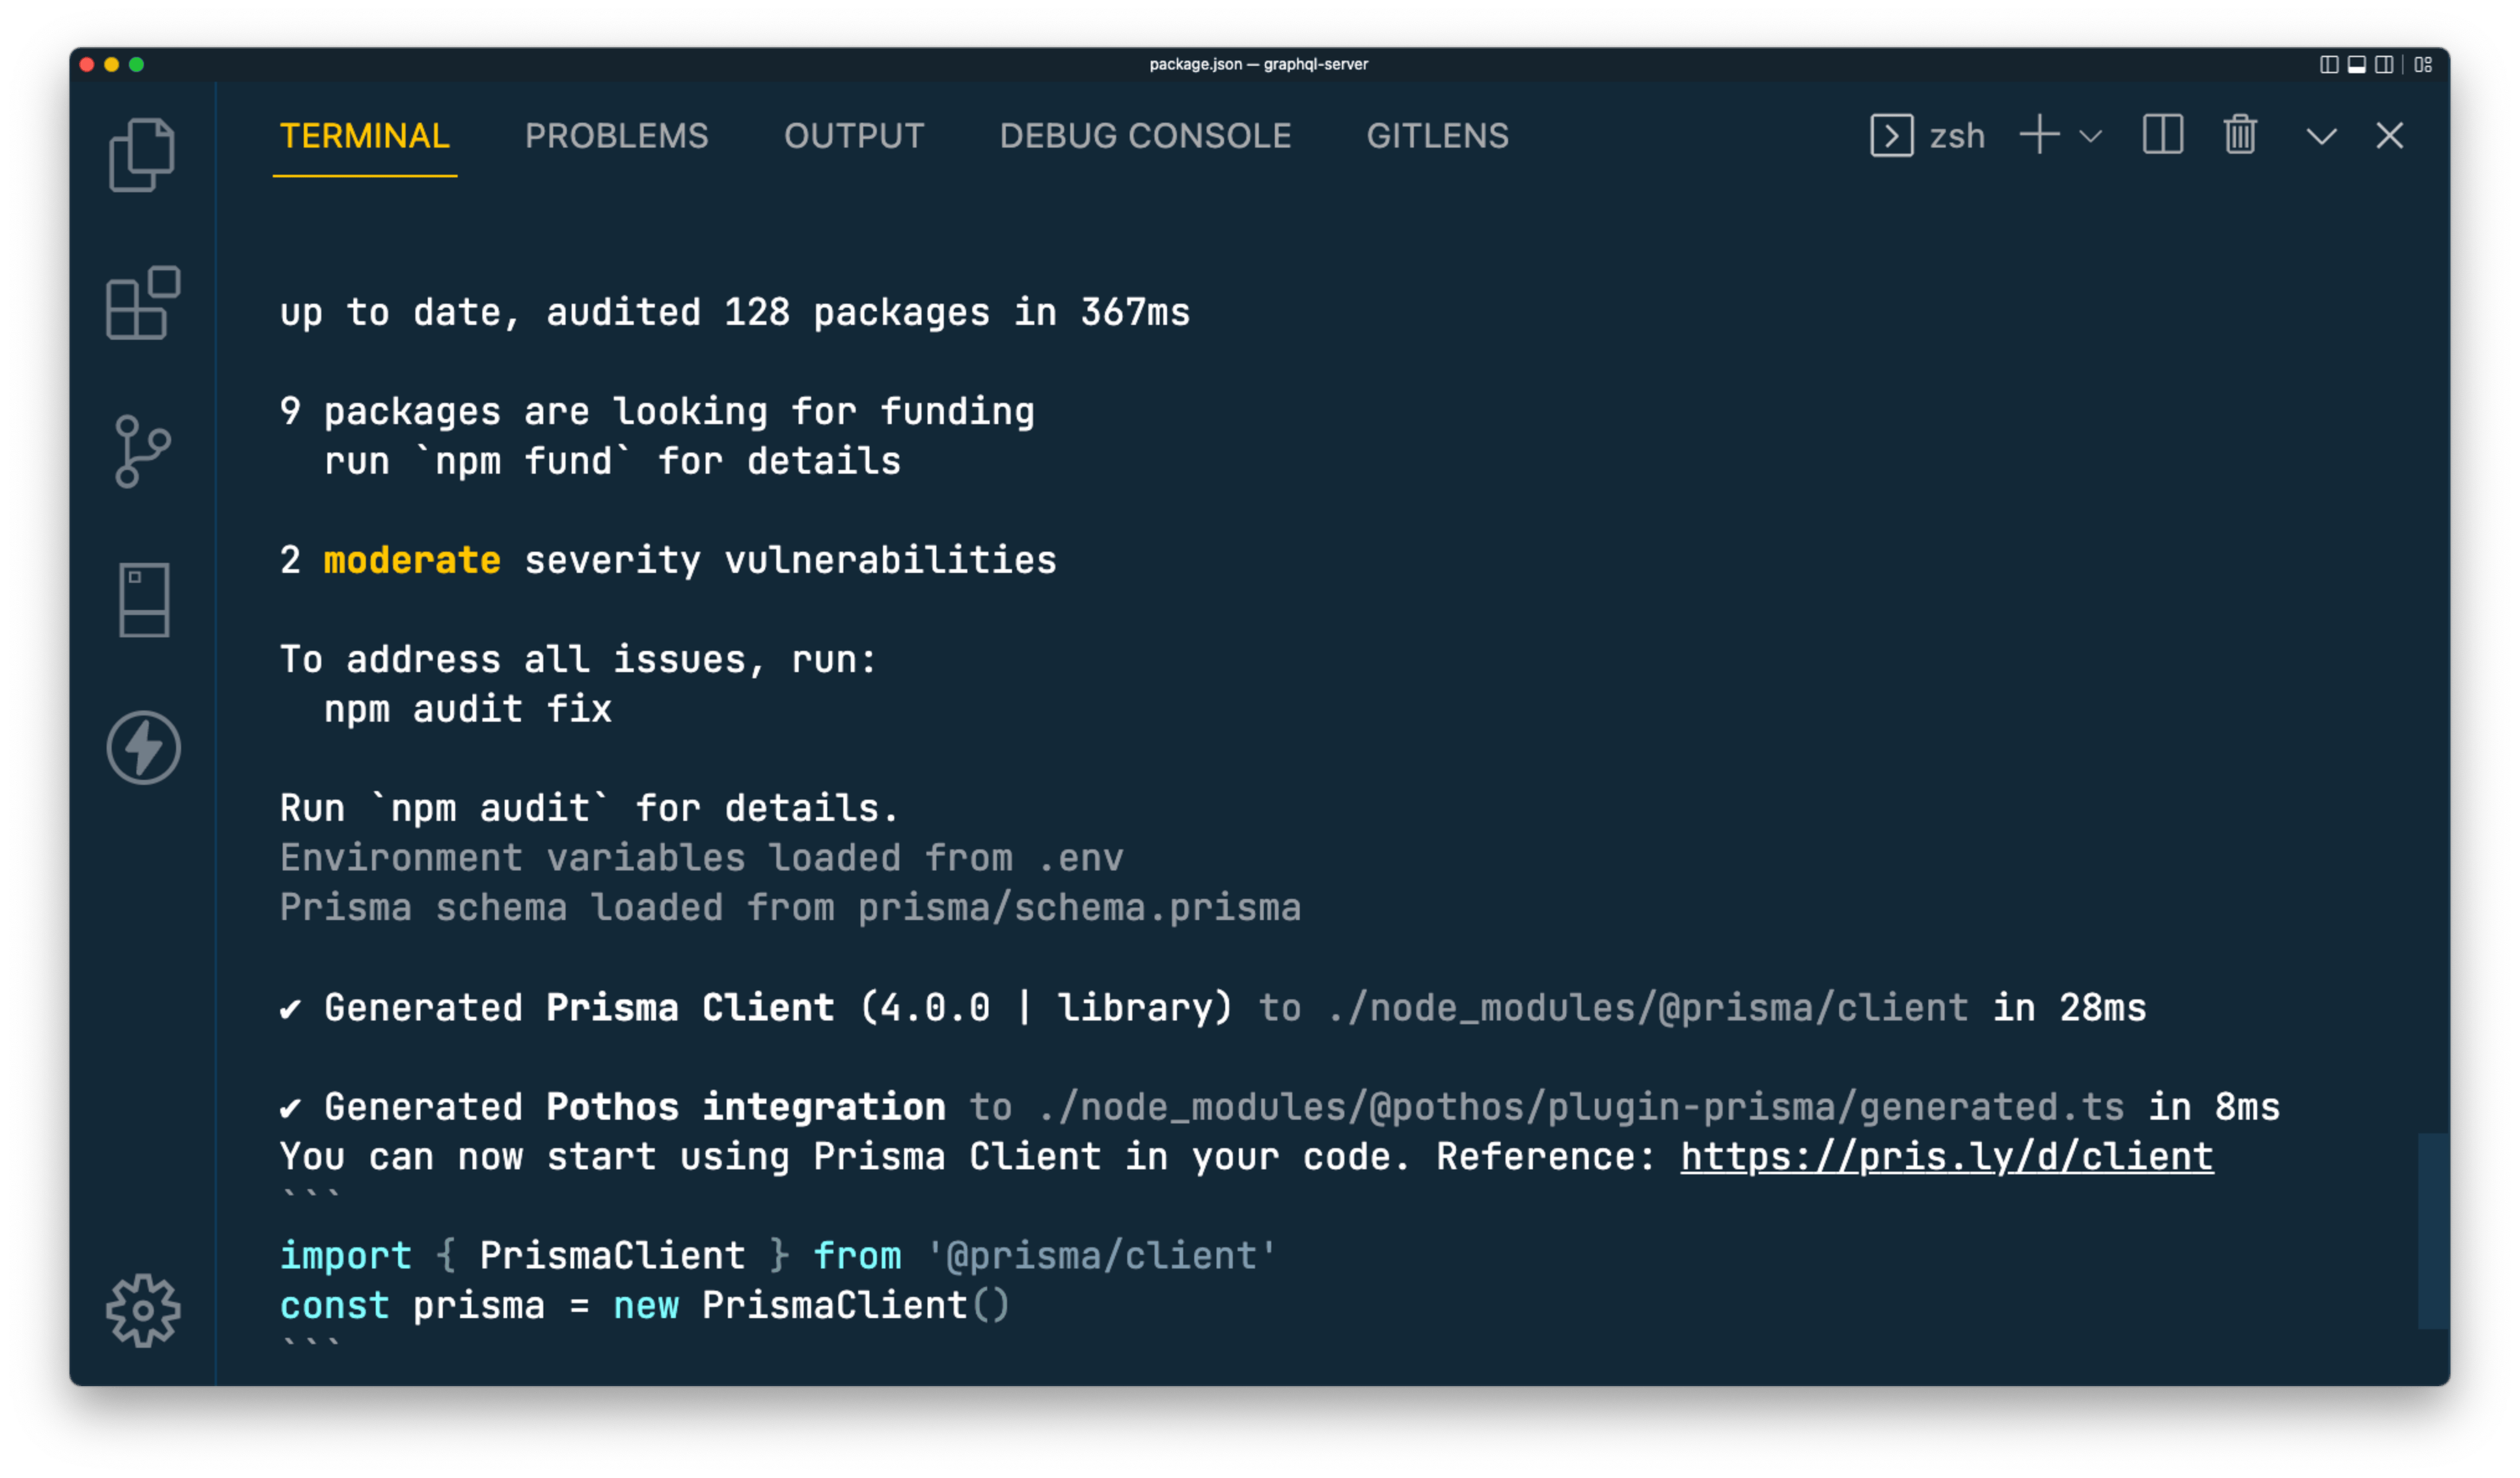
}Now you can run that command to install your node modules and regenerate Prisma Client and the Pothos outputs:
npm run buildWhen you run the command above, you should see that Prisma Client and the Pothos integration were both generated.
Now that those types are generated, head over to src/builder.ts. Here you will import the PrismaPlugin and the generated Pothos types and apply them to your builder:
diff
// src/builder.ts

import SchemaBuilder from "@pothos/core";
import { DateResolver } from "graphql-scalars";
+import PrismaPlugin from "@pothos/plugin-prisma";
+import type PrismaTypes from "@pothos/plugin-prisma/generated";

export const builder = new SchemaBuilder<{
  Scalars: {
    Date: { Input: Date; Output: Date };
  };
}>({});

builder.addScalarType("Date", DateResolver, {});
As soon as you add the generated types, you will notice a TypeScript error occur within the instantiation of the SchemaBuilder.
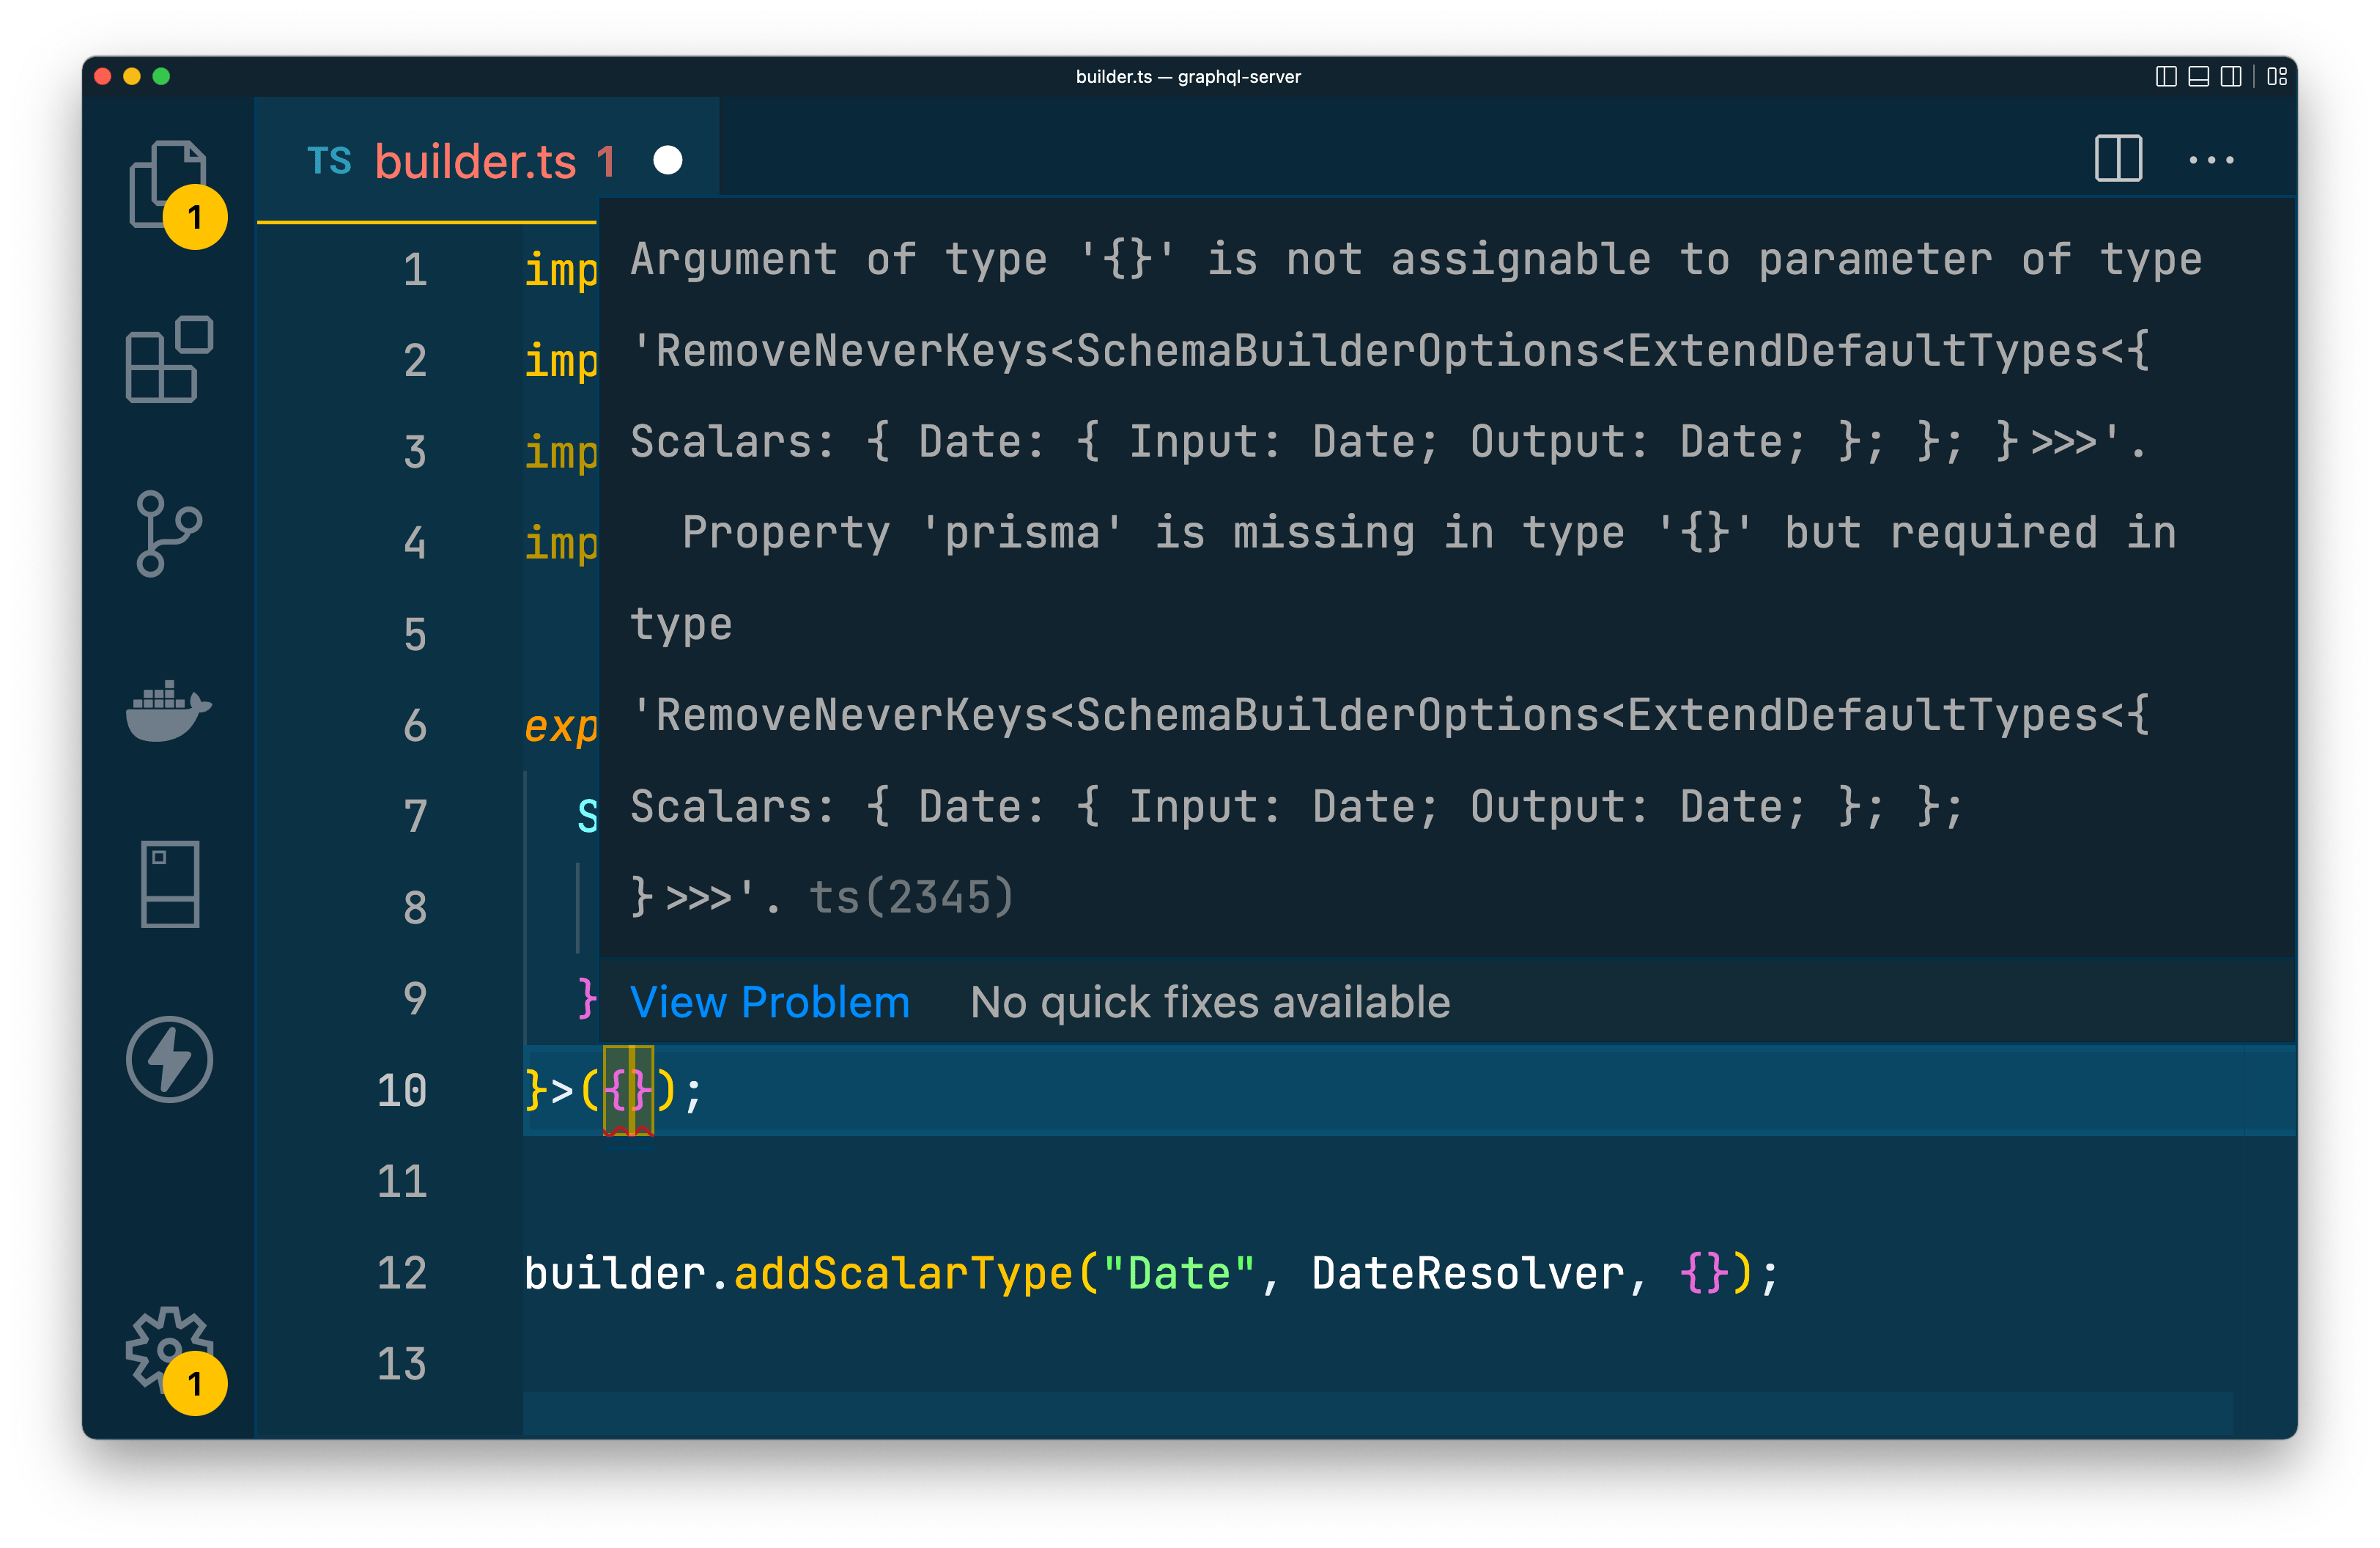
Pothos is smart enough to know that, because you are using the Prisma plugin, you need to provide a prisma instance to the builder. This is used by Pothos to infer information about the types in your Prisma Client. In the next step you will create and add that instance to the builder.
For now, register the Prisma plugin and the generated types in the builder instance to let Pothos know about them:
diff
// src/builder.ts
// ...

export const builder = new SchemaBuilder<{
  Scalars: {
    Date: { Input: Date; Output: Date };
  };
+  PrismaTypes: PrismaTypes;
}>({
+  plugins: [PrismaPlugin],
});

// ...
You will, again, see a TypeScript error at this point. This is because the builder now expects an instance of Prisma Client to be provided to the function.
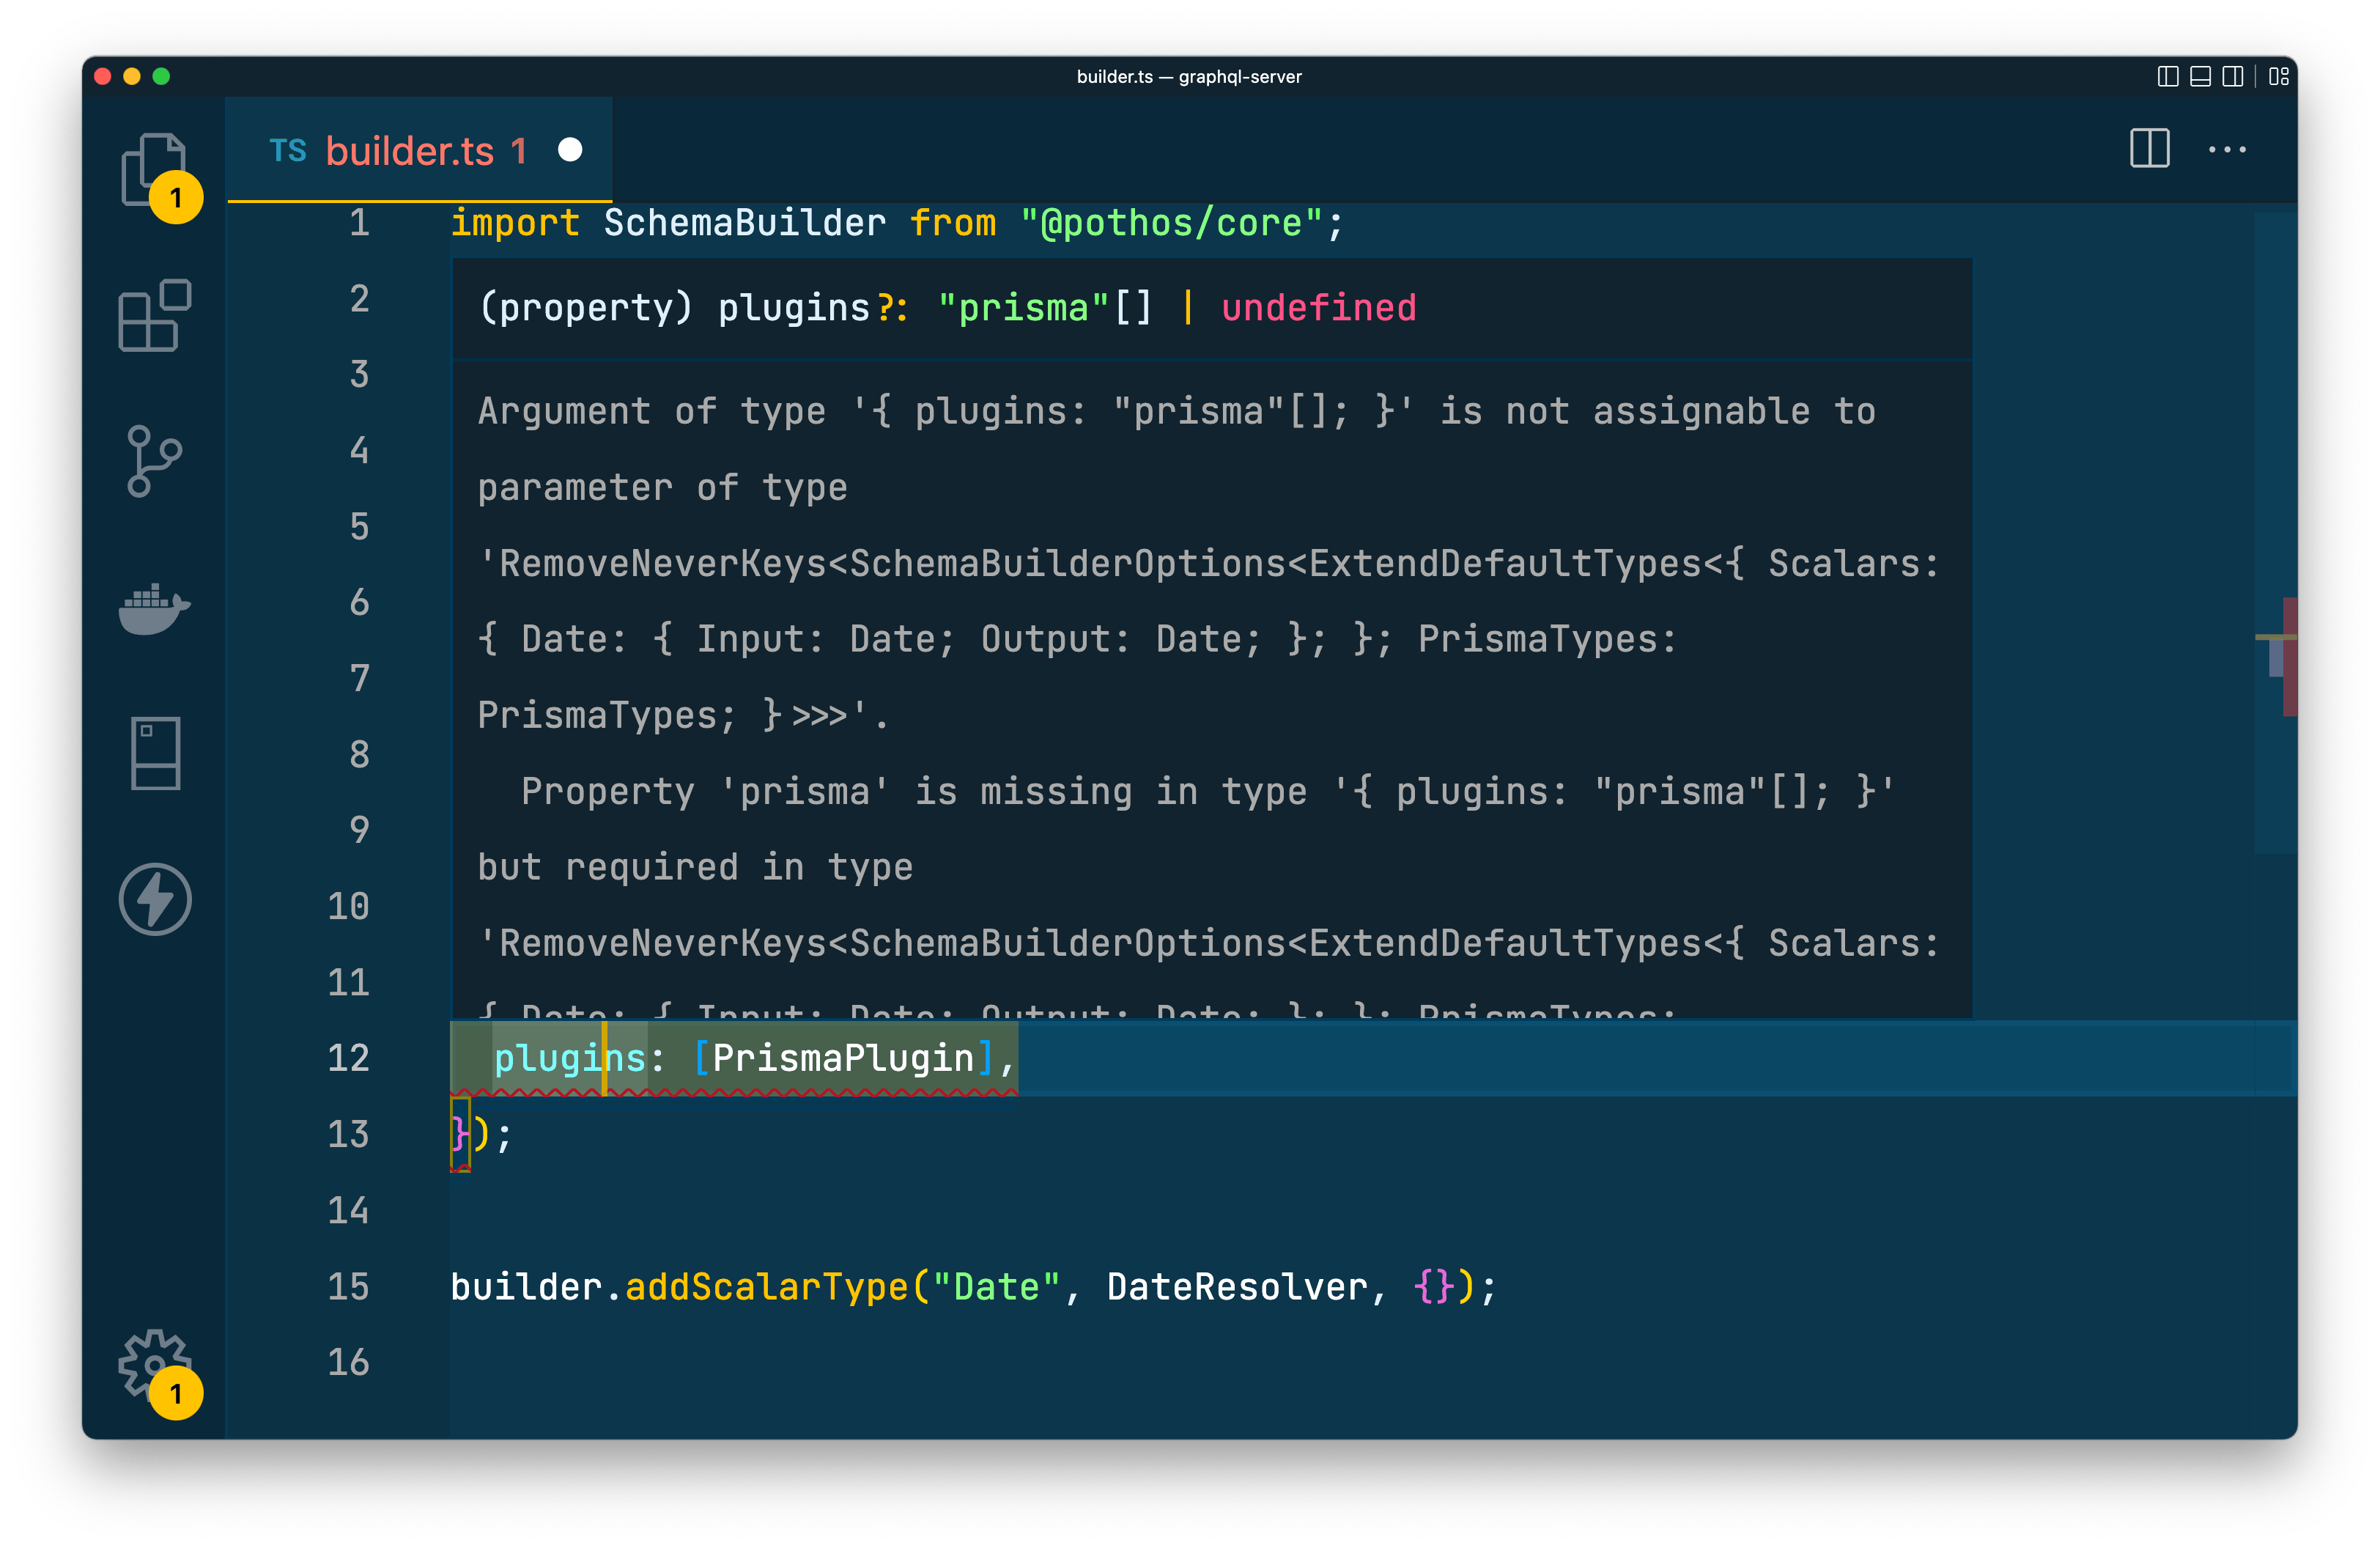
In the next step, you will instantiate Prisma Client and provide it here in the builder.
Create a reusable instance of Prisma Client
You now need to create a re-usable instance of Prisma Client that will be used to query your database and provide the types required by the builder from the previous step.
Create a new file in the src folder named db.ts:
touch src/db.tsWithin that file, import Prisma Client and create an instance of the client named prisma. Export that instantiated client:
// src/db.ts

import { PrismaClient } from "@prisma/client";
export const prisma = new PrismaClient();
Import the prisma variable into src/builder.ts and provide it to builder to get rid of the TypeScript error:
diff
// src/builder.ts

// ...

+import { prisma } from "./db";

export const builder = new SchemaBuilder<{
  Scalars: {
    Date: { Input: Date; Output: Date };
  };
  PrismaTypes: PrismaTypes;
}>({
  plugins: [PrismaPlugin],
+  prisma: {
+    client: prisma,
+  },
});

// ...
The Pothos Prisma plugin is now completely configured and ready to go. This takes the types generated by Prisma and allows you easy access to those within your GraphQL object types and queries.
The cool thing about this is you now have a single source of truth (the Prisma schema) handling the types in your database, the API used to query the database, and the GraphQL schema.
Next, you will see this in action!
Define your GraphQL types
At this point, you will define the GraphQL object types using the builder you configured with the Prisma plugin.
Note: It may seem redundant to manually define GraphQL object types when you've already defined the shape of the data in the Prisma schema. The Prisma schema defines the shape of the data in the database, while the GraphQL schema defines the data available in the API.
Create a new folder within src named models. Then create a User.ts file within that new folder:
mkdir src/models
touch src/models/User.ts
This is where you will define the User object type and its related queries that you will expose through your GraphQL API. Import the builder instance:
// src/models/User.ts

import { builder } from "../builder";
Because you are using Pothos's Prisma plugin, the builder instance now has a method named prismaObject you will use to define your object types.
That method takes in two parameters:
name: The name of the Prisma model this new type representsoptions: The config for the type being defined
Use that method to create a "User" type:
diff
// src/models/User.ts

import { builder } from "../builder";
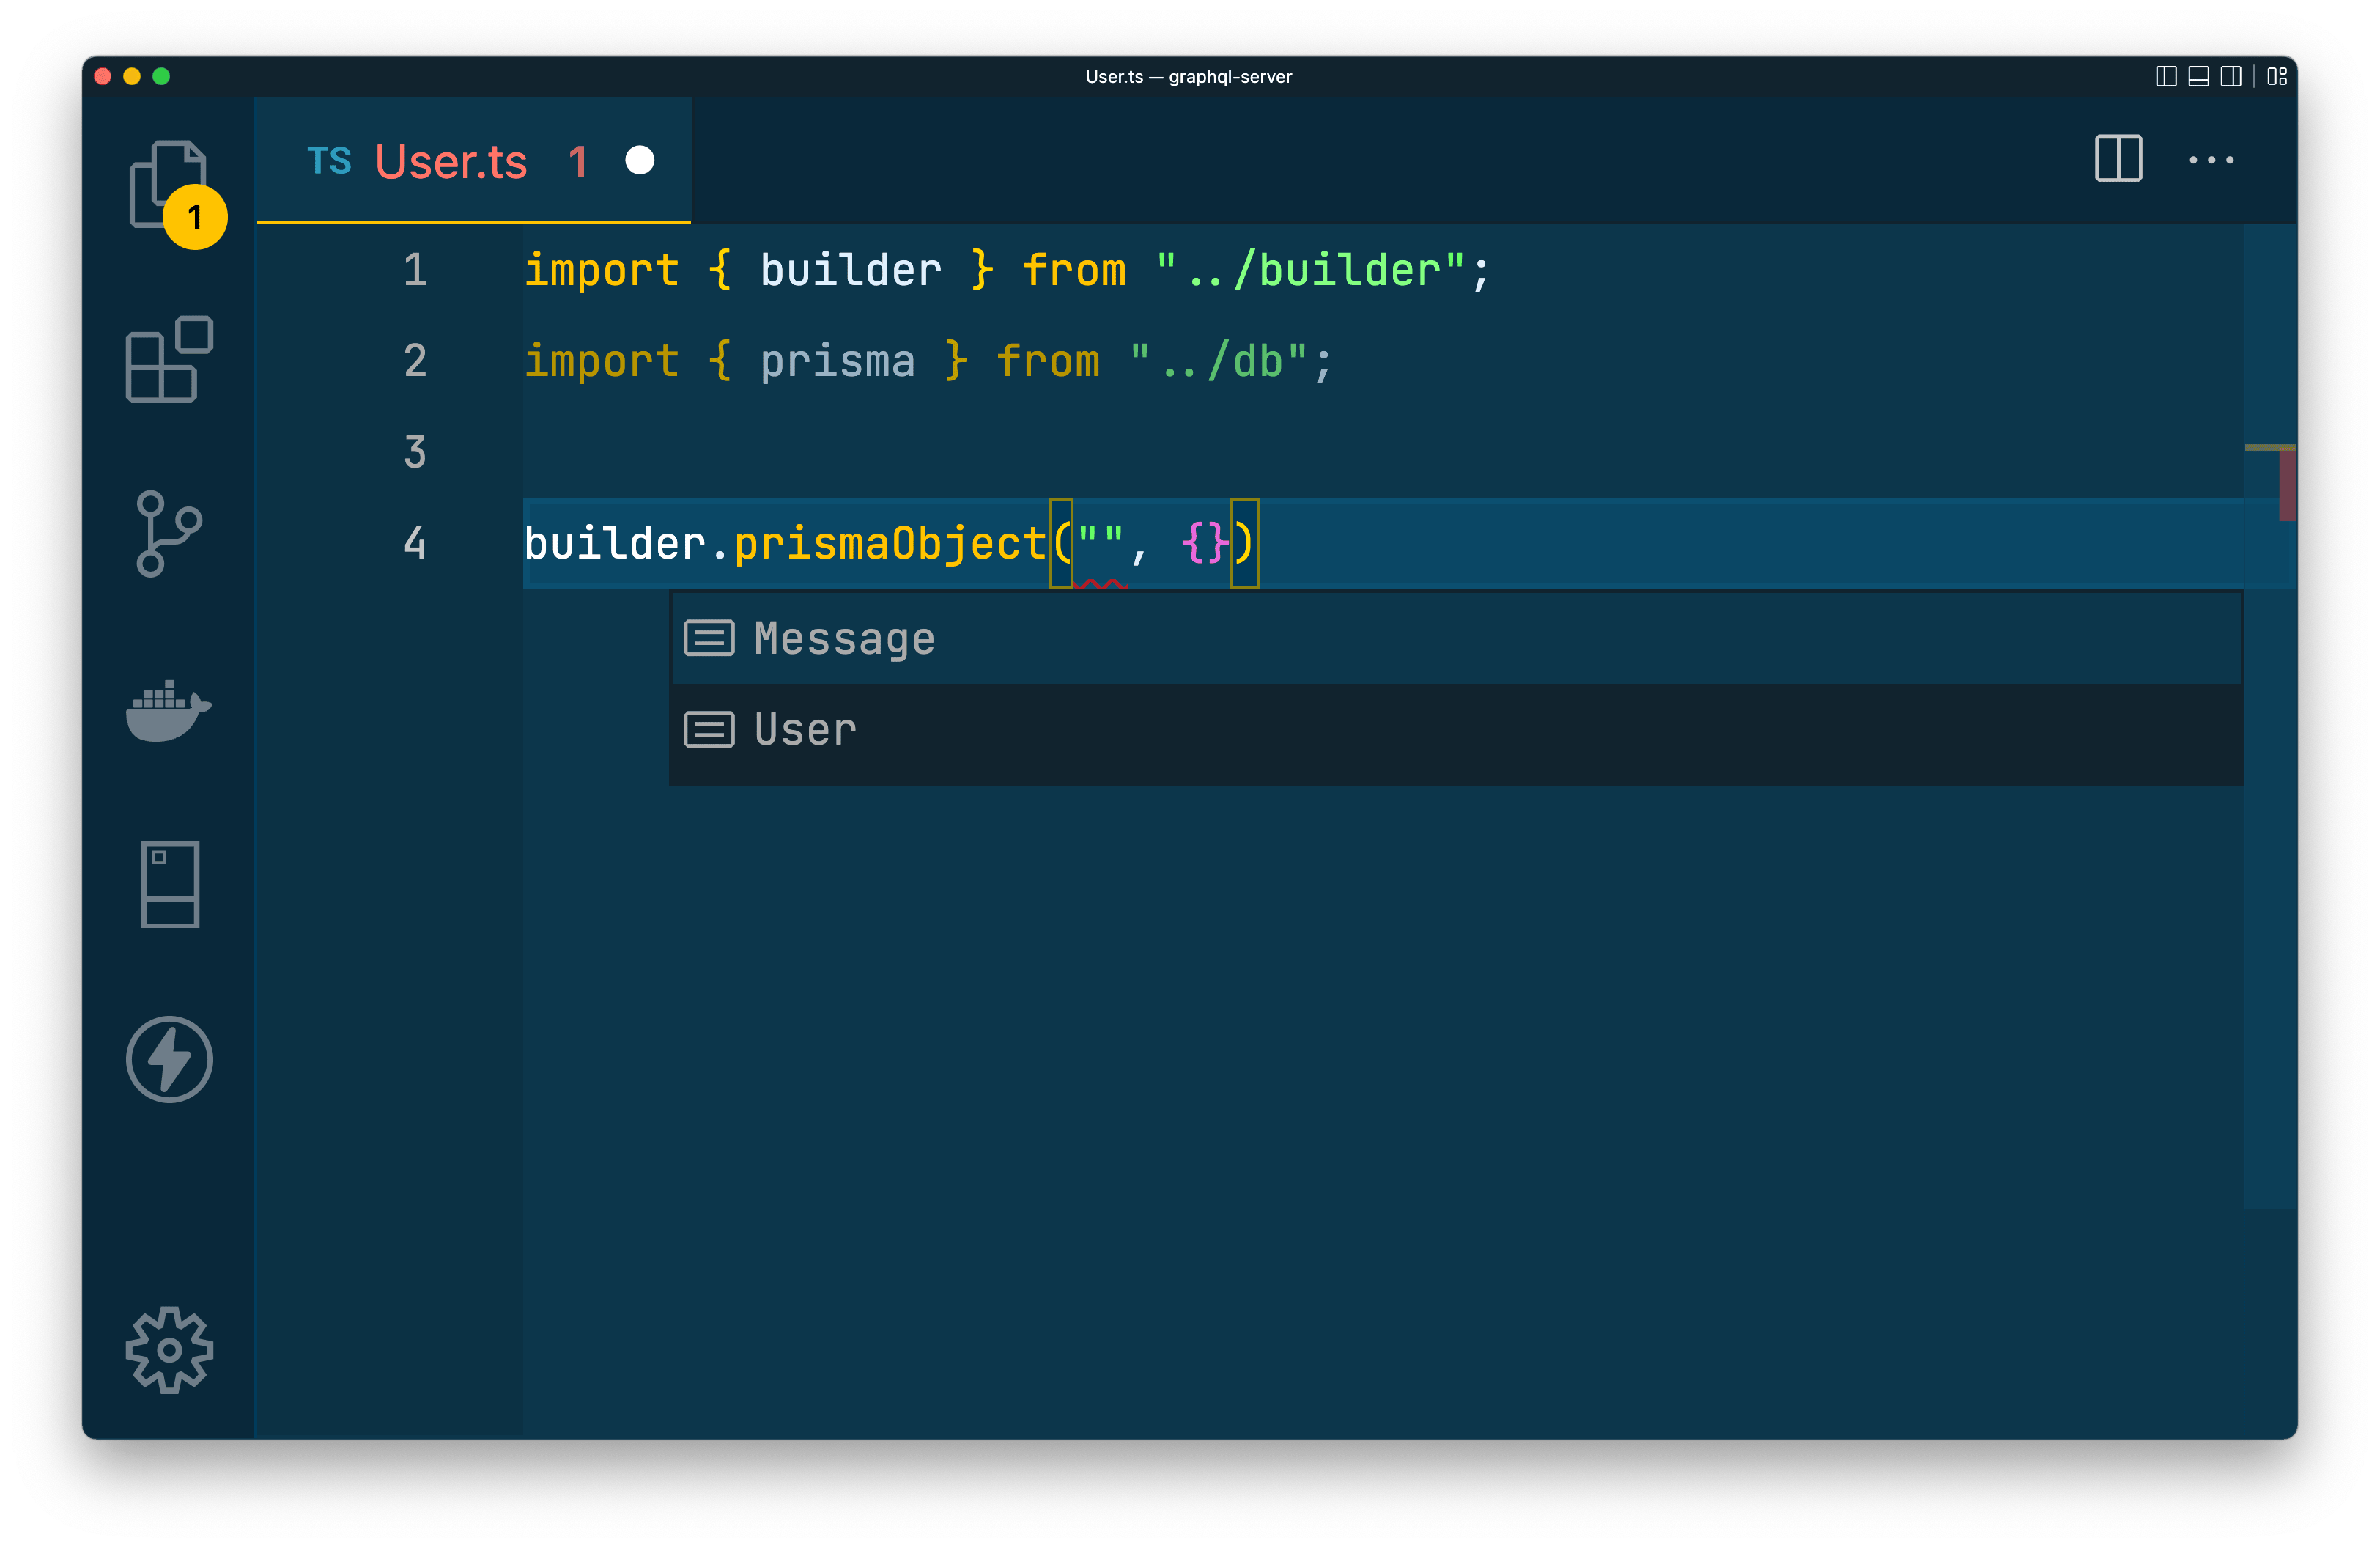
+builder.prismaObject("User", {})Note: If you press Ctrl + Space within an empty set of quotes before typing in the
namefield, you should get some nice auto-completion with a list of available models from your Prisma schema thanks to the Prisma plugin.
Within the options object, add a fields key that defines the id, name and messages fields using Pothos's "expose" functions:
// src/models/User.ts

import { builder } from "../builder";

builder.prismaObject("User", {
    fields: t => ({
        id: t.exposeID("id"),
        name: t.exposeString("name"),
        messages: t.relation("messages")
    })
})Note: Hitting Ctrl + Space when you begin to type in a field name will give you a list of fields in the target model that match the data type of the "expose" function you are using.
The function above defines a GraphQL type definition and registers it in the builder instance. Generating a schema from the builder does not actually store a GraphQL schema in your file system that you can check out, however the resulting type definition for your User will look like this:
type User {
  id: ID!
  messages: [Message!]!
  name: String!
}
Next, add another file in the same folder named Message.ts:
touch Message.tsThis file will be similar to the User.ts file, except it will define the Message model.
Define the id, body and createdAt fields. Note the createdAt field has the DateTime type in your Prisma schema and will need a custom configuration to define the custom date scalar type you defined:
// src/models/Message.ts

import { builder } from "../builder";

builder.prismaObject("Message", {
  fields: (t) => ({
    id: t.exposeID("id"),
    body: t.exposeString("body"),
    createdAt: t.expose("createdAt", {
      type: "Date",
    }),
  }),
});
This function will result in the following GraphQL object type:
type Message {
  body: String!
  createdAt: Date!
  id: ID!
}
Implement your queries
Currently, you have object types defined for your GraphQL schema, however you have not yet defined a way to actually access that data. To do this, you first need to initialize a Query type.
At the bottom of your src/builder.ts file, intialize the Query type using builder's queryType function:
// src/builder.ts

// ...

builder.queryType({});
This registers a special GraphQL type that holds the definitions for each of your queries and acts as the entry point to your GraphQL API. You define this type in the builder.ts file to ensure the query builder has a Query type defined, that way you can add query fields to it later on.
Within this queryType function, you have the ability to add query definitions directly, however, you will define these separately within your codebase to better organize your code.
Import the prisma instance into src/models/User.ts:
diff
// src/models/User.ts

import { builder } from "../builder";
+import { prisma } from "../db";

// ...
Then, using the builder's queryField function, define a "users" query that exposes the User object type you defined:
// src/models/User.ts
// ...

// 1
builder.queryField("users", (t) =>
  // 2
  t.prismaField({
    // 3
    type: ["User"],
    // 4
    resolve: async (query, root, args, ctx, info) => {
      return prisma.user.findMany({ ...query });
    },
  })
);
The snippet above:
- Adds a field to the GraphQL schema's
Querytype named"users" - Defines a field that resolves to some type in your Prisma schema
- Lets Pothos know this field will resolve to an array of your Prisma Client's
Usertype - Sets up a resolver function for this field.
Note: The
resolvefunction'squeryargument at the beginning of the argument list. This is a specific field Pothos populates when usingprismaFieldfunction that is used to load data and relations in a performant way. This may be confusing if you come from a GraphQL background as it changes the expected order of arguments.
In order to better visualize what took place, here is the Query type and the users query that will be generated by the code in this section:
type Query {
  users: [User!]!
}
Apply the GraphQL schema
You now have all of your GraphQL object types and queries defined and implemented. The last piece needed is a way to register all of these types and queries in a single place and generate the GraphQL schema based on your configurations.
Create a new file in src named schema.ts:
touch schema.tsThis file will simply import the models, causing the code within the files to be run, and run the builder instance's toSchema function to generate the GraphQL schema:
// src/schema.ts

import { builder } from "./builder";

import "./models/Message";
import "./models/User";

export const schema = builder.toSchema({});
The toSchema function generates an abstract syntax tree (AST) representation of your GraphQL schema. Below, you can see what the AST and GraphQL representations would look like:
scalar Date

type Message {
  body: String!
  createdAt: Date!
  id: ID!
}

type Query {
  users: [User!]!
}

type User {
  id: ID!
  messages: [Message!]!
  name: String!
}
{
__validationErrors: undefined,
description: undefined,
extensions: [Object: null prototype] {},
astNode: undefined,
extensionASTNodes: [],
_queryType: GraphQLObjectType {
name: 'Query',
description: undefined,
isTypeOf: undefined,
extensions: [Object: null prototype] {
pothosOptions: {},
pothosConfig: [Object]
},
astNode: undefined,
extensionASTNodes: [],
_fields: [Object: null prototype] { users: [Object] },
_interfaces: []
},
_mutationType: undefined,
_subscriptionType: undefined,
_directives: [
GraphQLDirective {
name: 'deprecated',
description: 'Marks an element of a GraphQL schema as no longer supported.',
locations: [Array],
isRepeatable: false,
extensions: [Object: null prototype] {},
astNode: undefined,
args: [Array]
},
GraphQLDirective {
name: 'include',
description: 'Directs the executor to include this field or fragment only when the `if` argument is true.',
locations: [Array],
isRepeatable: false,
extensions: [Object: null prototype] {},
astNode: undefined,
args: [Array]
},
GraphQLDirective {
name: 'skip',
description: 'Directs the executor to skip this field or fragment when the `if` argument is true.',
locations: [Array],
isRepeatable: false,
extensions: [Object: null prototype] {},
astNode: undefined,
args: [Array]
},
GraphQLDirective {
name: 'specifiedBy',
description: 'Exposes a URL that specifies the behavior of this scalar.',
locations: [Array],
isRepeatable: false,
extensions: [Object: null prototype] {},
astNode: undefined,
args: [Array]
}
],
_typeMap: [Object: null prototype] {
Boolean: GraphQLScalarType {
name: 'Boolean',
description: 'The `Boolean` scalar type represents `true` or `false`.',
specifiedByURL: undefined,
serialize: [Function: serialize],
parseValue: [Function: parseValue],
parseLiteral: [Function: parseLiteral],
extensions: [Object: null prototype] {},
astNode: undefined,
extensionASTNodes: []
},
Date: GraphQLScalarType {
name: 'Date',
description: 'A date string, such as 2007-12-03, compliant with the `full-date` format outlined in section 5.6 of the RFC 3339 profile of the ISO 8601 standard for representation of dates and times using the Gregorian calendar.',
specifiedByURL: undefined,
serialize: [Function: serialize],
parseValue: [Function: parseValue],
parseLiteral: [Function: parseLiteral],
extensions: [Object: null prototype],
astNode: undefined,
extensionASTNodes: []
},
Float: GraphQLScalarType {
name: 'Float',
description: 'The `Float` scalar type represents signed double-precision fractional values as specified by [IEEE 754](https://en.wikipedia.org/wiki/IEEE_floating_point).',
specifiedByURL: undefined,
serialize: [Function: serialize],
parseValue: [Function: parseValue],
parseLiteral: [Function: parseLiteral],
extensions: [Object: null prototype] {},
astNode: undefined,
extensionASTNodes: []
},
ID: GraphQLScalarType {
name: 'ID',
description: 'The `ID` scalar type represents a unique identifier, often used to refetch an object or as key for a cache. The ID type appears in a JSON response as a String; however, it is not intended to be human-readable. When expected as an input type, any string (such as `"4"`) or integer (such as `4`) input value will be accepted as an ID.',
specifiedByURL: undefined,
serialize: [Function: serialize],
parseValue: [Function: parseValue],
parseLiteral: [Function: parseLiteral],
extensions: [Object: null prototype] {},
astNode: undefined,
extensionASTNodes: []
},
Int: GraphQLScalarType {
name: 'Int',
description: 'The `Int` scalar type represents non-fractional signed whole numeric values. Int can represent values between -(2^31) and 2^31 - 1.',
specifiedByURL: undefined,
serialize: [Function: serialize],
parseValue: [Function: parseValue],
parseLiteral: [Function: parseLiteral],
extensions: [Object: null prototype] {},
astNode: undefined,
extensionASTNodes: []
},
Message: GraphQLObjectType {
name: 'Message',
description: undefined,
isTypeOf: undefined,
extensions: [Object: null prototype],
astNode: undefined,
extensionASTNodes: [],
_fields: [Object: null prototype],
_interfaces: []
},
Query: GraphQLObjectType {
name: 'Query',
description: undefined,
isTypeOf: undefined,
extensions: [Object: null prototype],
astNode: undefined,
extensionASTNodes: [],
_fields: [Object: null prototype],
_interfaces: []
},
String: GraphQLScalarType {
name: 'String',
description: 'The `String` scalar type represents textual data, represented as UTF-8 character sequences. The String type is most often used by GraphQL to represent free-form human-readable text.',
specifiedByURL: undefined,
serialize: [Function: serialize],
parseValue: [Function: parseValue],
parseLiteral: [Function: parseLiteral],
extensions: [Object: null prototype] {},
astNode: undefined,
extensionASTNodes: []
},
User: GraphQLObjectType {
name: 'User',
description: undefined,
isTypeOf: undefined,
extensions: [Object: null prototype],
astNode: undefined,
extensionASTNodes: [],
_fields: [Object: null prototype],
_interfaces: []
},
__Directive: GraphQLObjectType {
name: '__Directive',
description: 'A Directive provides a way to describe alternate runtime execution and type validation behavior in a GraphQL document.\n' +
'\n' +
"In some cases, you need to provide options to alter GraphQL's execution behavior in ways field arguments will not suffice, such as conditionally including or skipping a field. Directives provide this by describing additional information to the executor.",
isTypeOf: undefined,
extensions: [Object: null prototype] {},
astNode: undefined,
extensionASTNodes: [],
_fields: [Object: null prototype],
_interfaces: []
},
__DirectiveLocation: GraphQLEnumType {
name: '__DirectiveLocation',
description: 'A Directive can be adjacent to many parts of the GraphQL language, a __DirectiveLocation describes one such possible adjacencies.',
extensions: [Object: null prototype] {},
astNode: undefined,
extensionASTNodes: [],
_values: [Array],
_valueLookup: [Map],
_nameLookup: [Object: null prototype]
},
__EnumValue: GraphQLObjectType {
name: '__EnumValue',
description: 'One possible value for a given Enum. Enum values are unique values, not a placeholder for a string or numeric value. However an Enum value is returned in a JSON response as a string.',
isTypeOf: undefined,
extensions: [Object: null prototype] {},
astNode: undefined,
extensionASTNodes: [],
_fields: [Object: null prototype],
_interfaces: []
},
__Field: GraphQLObjectType {
name: '__Field',
description: 'Object and Interface types are described by a list of Fields, each of which has a name, potentially a list of arguments, and a return type.',
isTypeOf: undefined,
extensions: [Object: null prototype] {},
astNode: undefined,
extensionASTNodes: [],
_fields: [Object: null prototype],
_interfaces: []
},
__InputValue: GraphQLObjectType {
name: '__InputValue',
description: 'Arguments provided to Fields or Directives and the input fields of an InputObject are represented as Input Values which describe their type and optionally a default value.',
isTypeOf: undefined,
extensions: [Object: null prototype] {},
astNode: undefined,
extensionASTNodes: [],
_fields: [Object: null prototype],
_interfaces: []
},
__Schema: GraphQLObjectType {
name: '__Schema',
description: 'A GraphQL Schema defines the capabilities of a GraphQL server. It exposes all available types and directives on the server, as well as the entry points for query, mutation, and subscription operations.',
isTypeOf: undefined,
extensions: [Object: null prototype] {},
astNode: undefined,
extensionASTNodes: [],
_fields: [Object: null prototype],
_interfaces: []
},
__Type: GraphQLObjectType {
name: '__Type',
description: 'The fundamental unit of any GraphQL Schema is the type. There are many kinds of types in GraphQL as represented by the `__TypeKind` enum.\n' +
'\n' +
'Depending on the kind of a type, certain fields describe information about that type. Scalar types provide no information beyond a name, description and optional `specifiedByURL`, while Enum types provide their values. Object and Interface types provide the fields they describe. Abstract types, Union and Interface, provide the Object types possible at runtime. List and NonNull types compose other types.',
isTypeOf: undefined,
extensions: [Object: null prototype] {},
astNode: undefined,
extensionASTNodes: [],
_fields: [Object: null prototype],
_interfaces: []
},
__TypeKind: GraphQLEnumType {
name: '__TypeKind',
description: 'An enum describing what kind of type a given `__Type` is.',
extensions: [Object: null prototype] {},
astNode: undefined,
extensionASTNodes: [],
_values: [Array],
_valueLookup: [Map],
_nameLookup: [Object: null prototype]
}
},
_subTypeMap: [Object: null prototype] {},
_implementationsMap: [Object: null prototype] {}
}Over in your src/index.ts file, import the schema variable you just created. The createServer function's configuration object takes a key named schema that will accept the generated GraphQL schema:
diff
// src/index.ts

import { createServer } from "@graphql-yoga/node";
+import { schema } from "./schema";

const port = Number(process.env.API_PORT) || 4000

const server = createServer({
   port,
+   schema,
});

server.start().then(() => {
  console.log(`🚀 GraphQL Server ready at http://localhost:${port}/graphql`);
});
Fantastic! Your GraphQL schema has been defined using a code-first methodology, your GraphQL object and query types are in sync with your Prisma schema models, and your GraphQL server is being provided the generated GraphQL schema.
At this point, run the server so you can play with the API:
npm run devAfter running the above command, open up http://localhost/graphql in your browser to access the GraphQL playground. You should be presented with a page that looks like this:
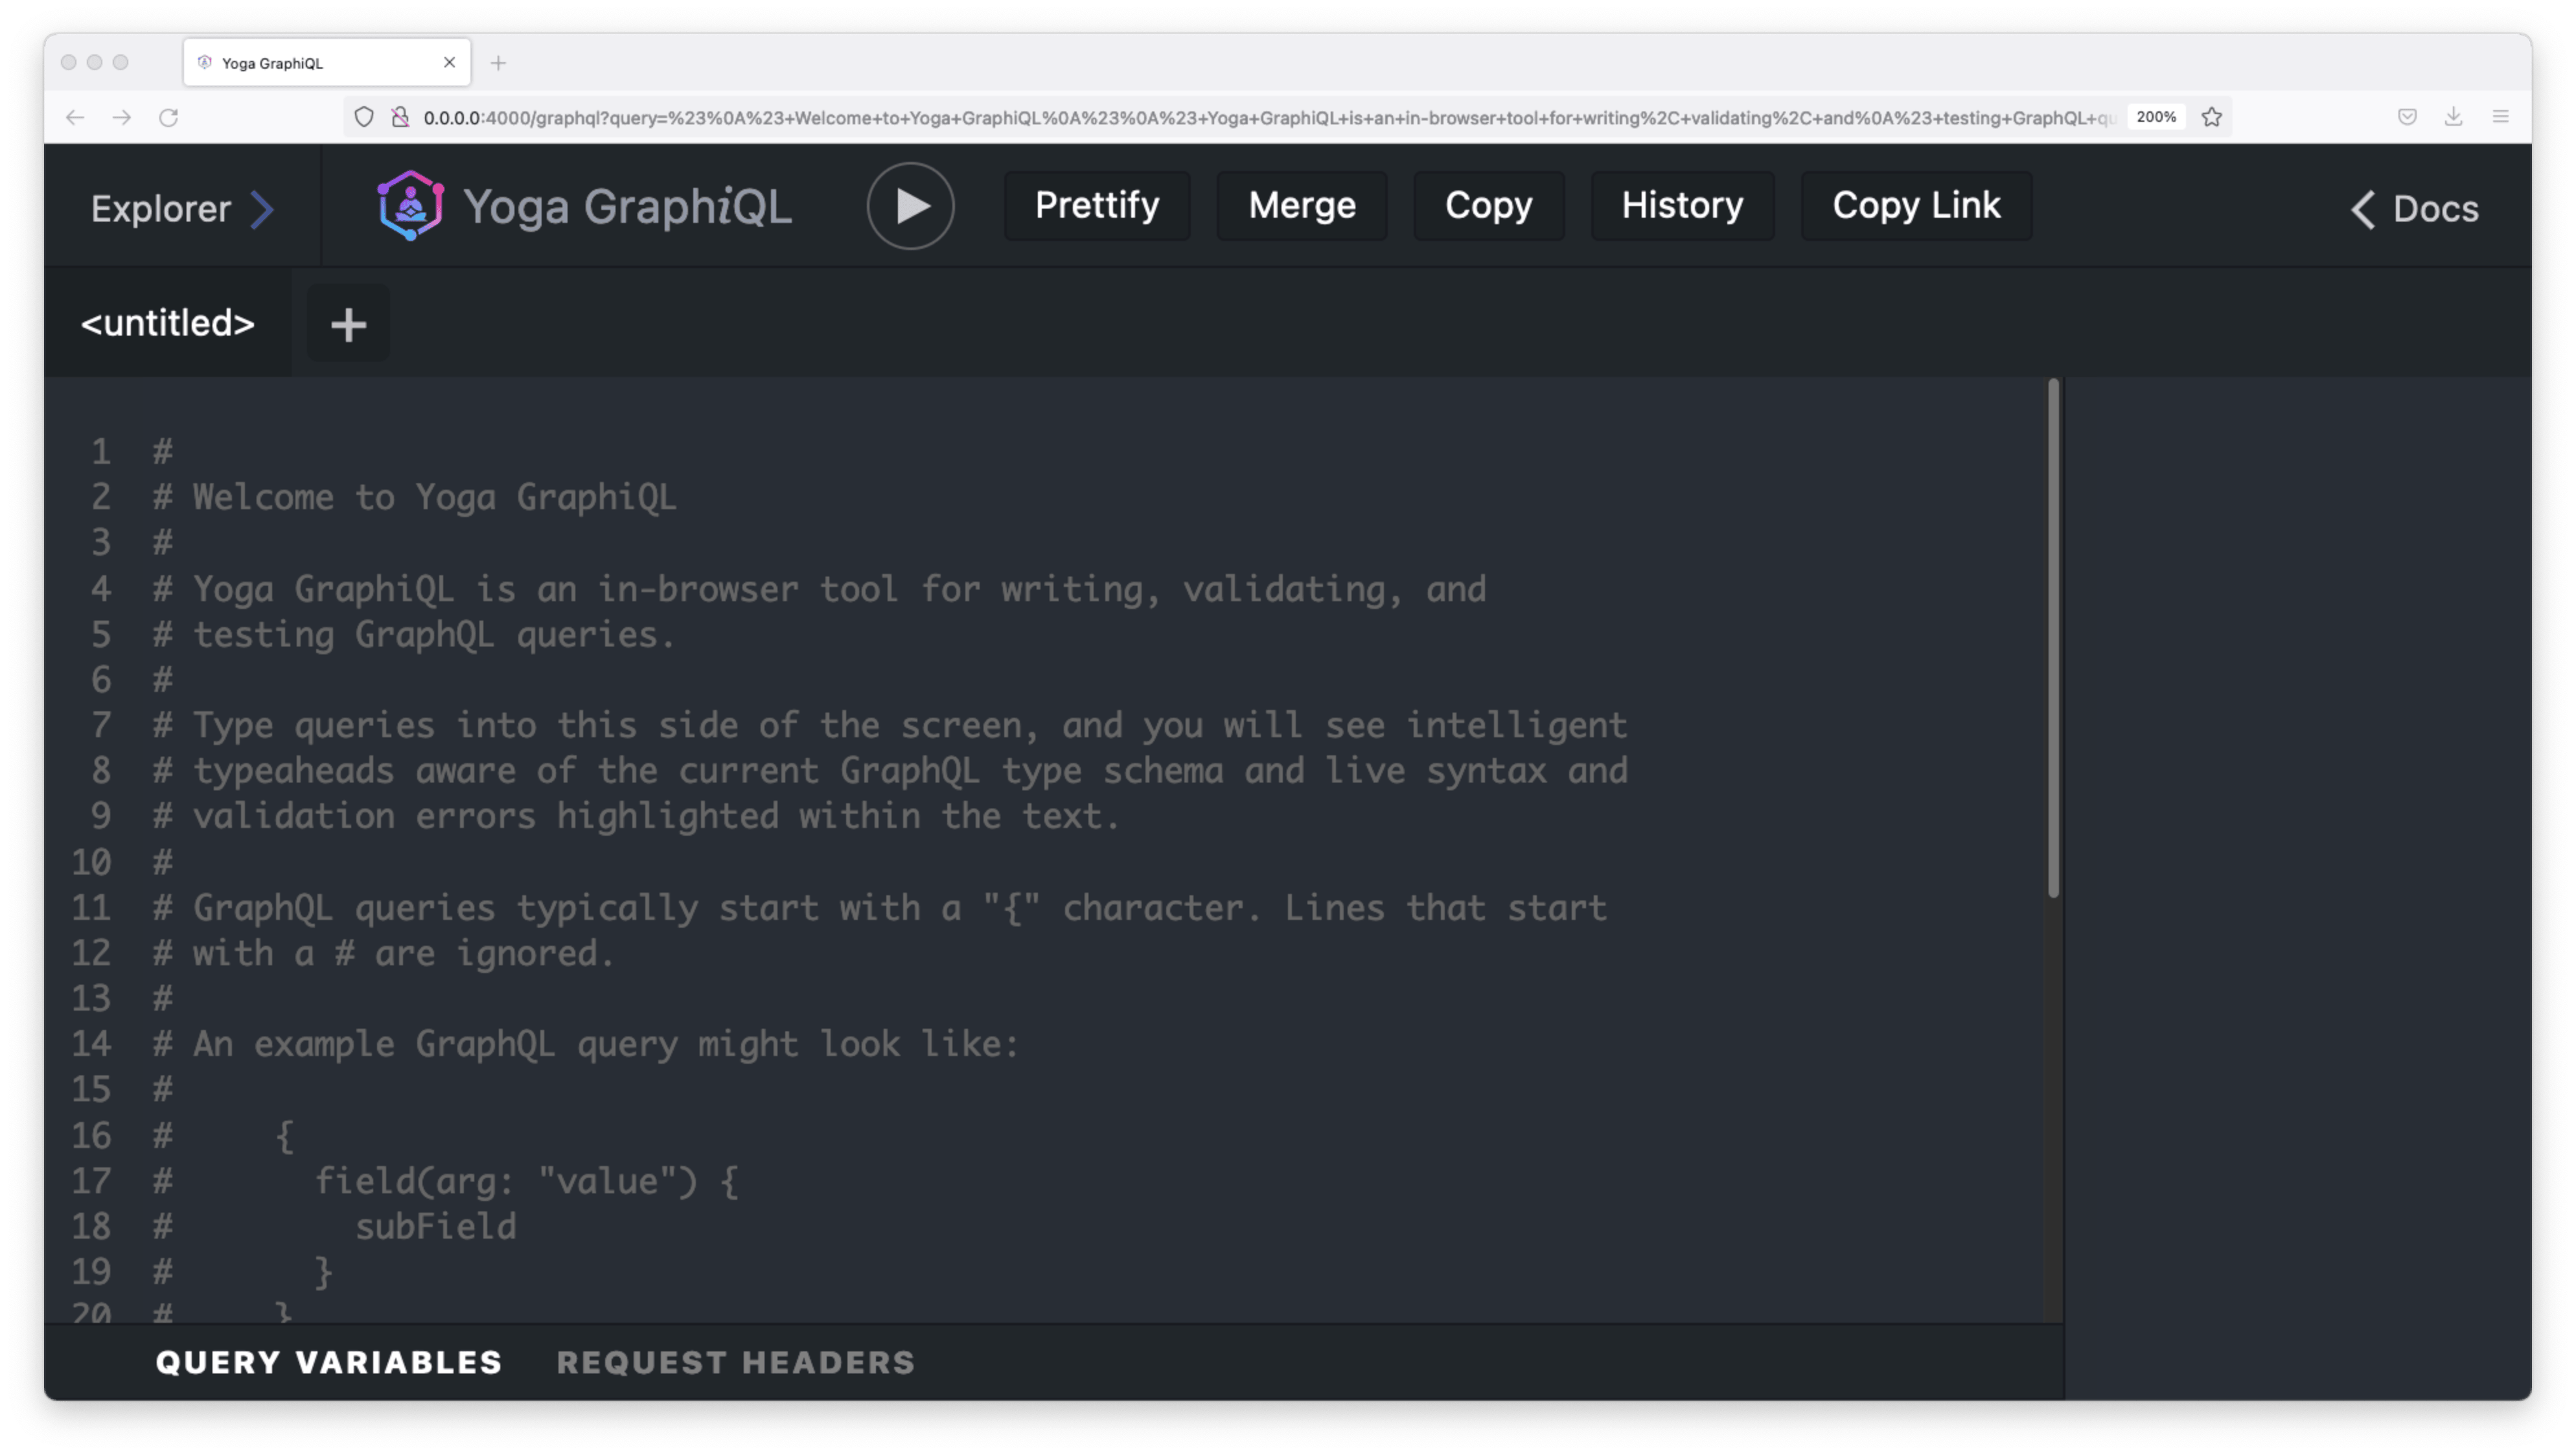
In the top-left corner of the screen, hit the Explorer button to see your API's available queries and mutations:
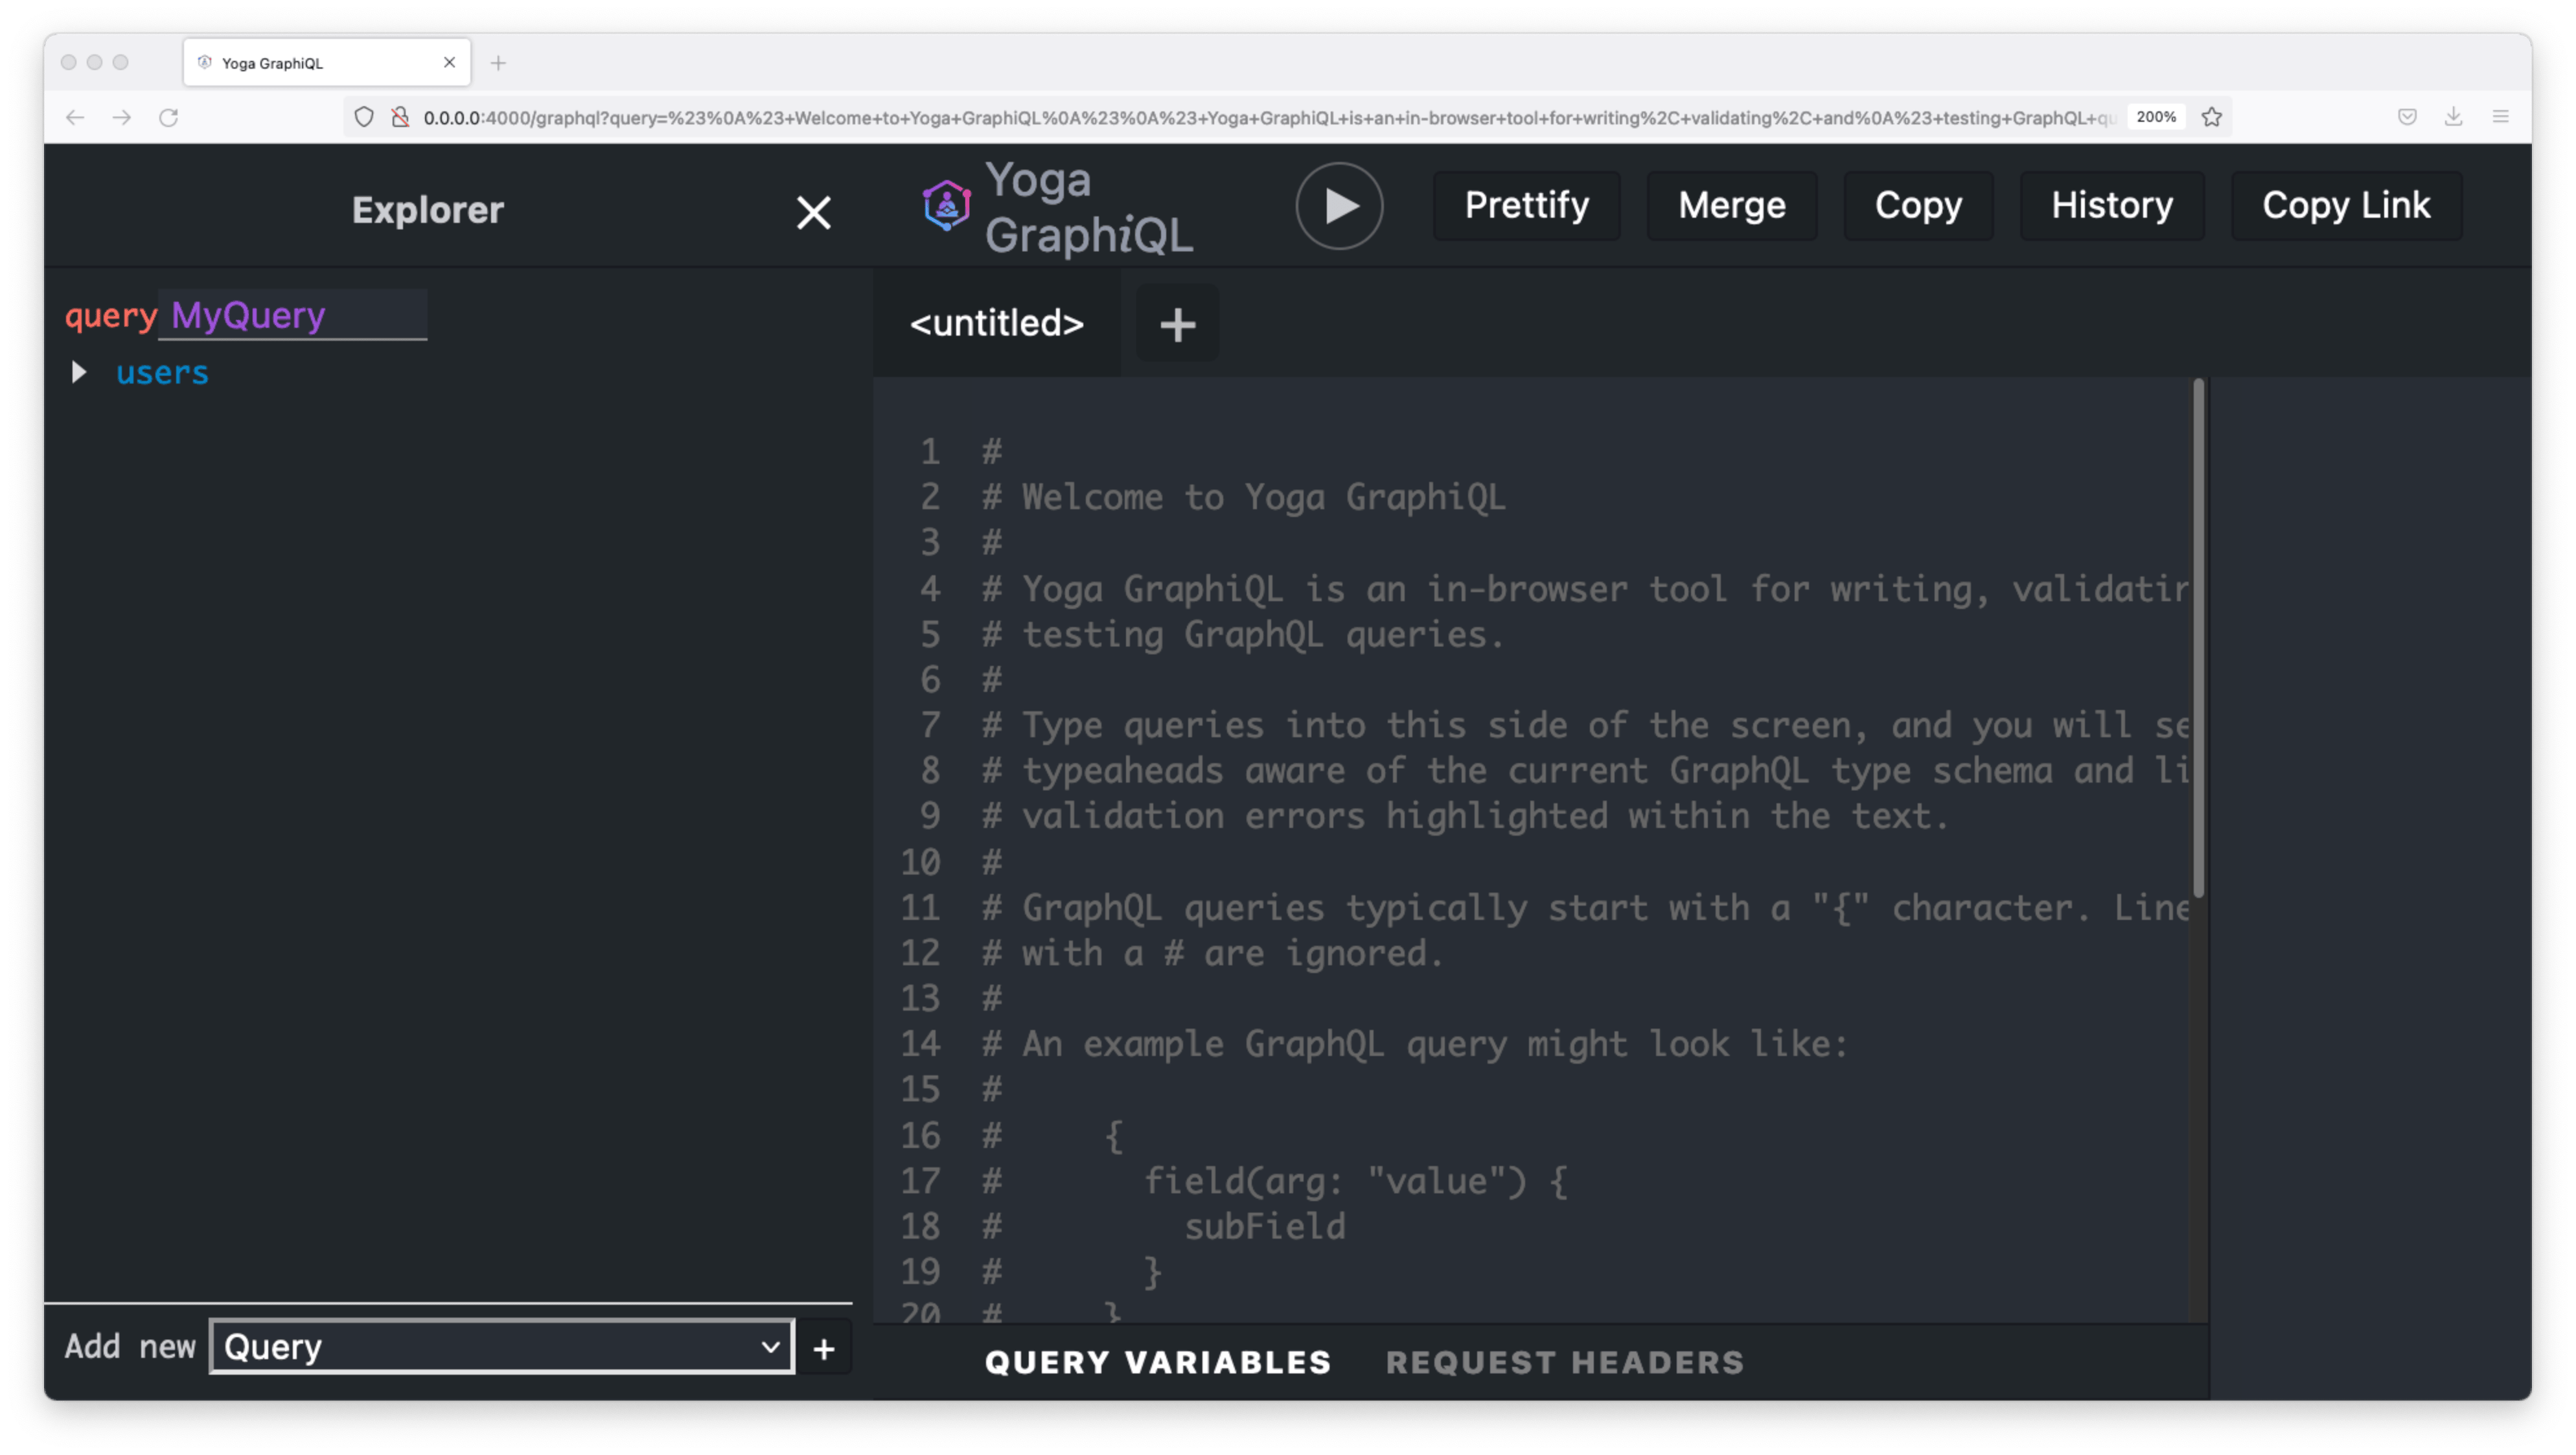
If you click on the users query type, the right side of the screen will be automatically populated with a query for your user data.
Run that query by hitting the "execute query" button to see the API in action:
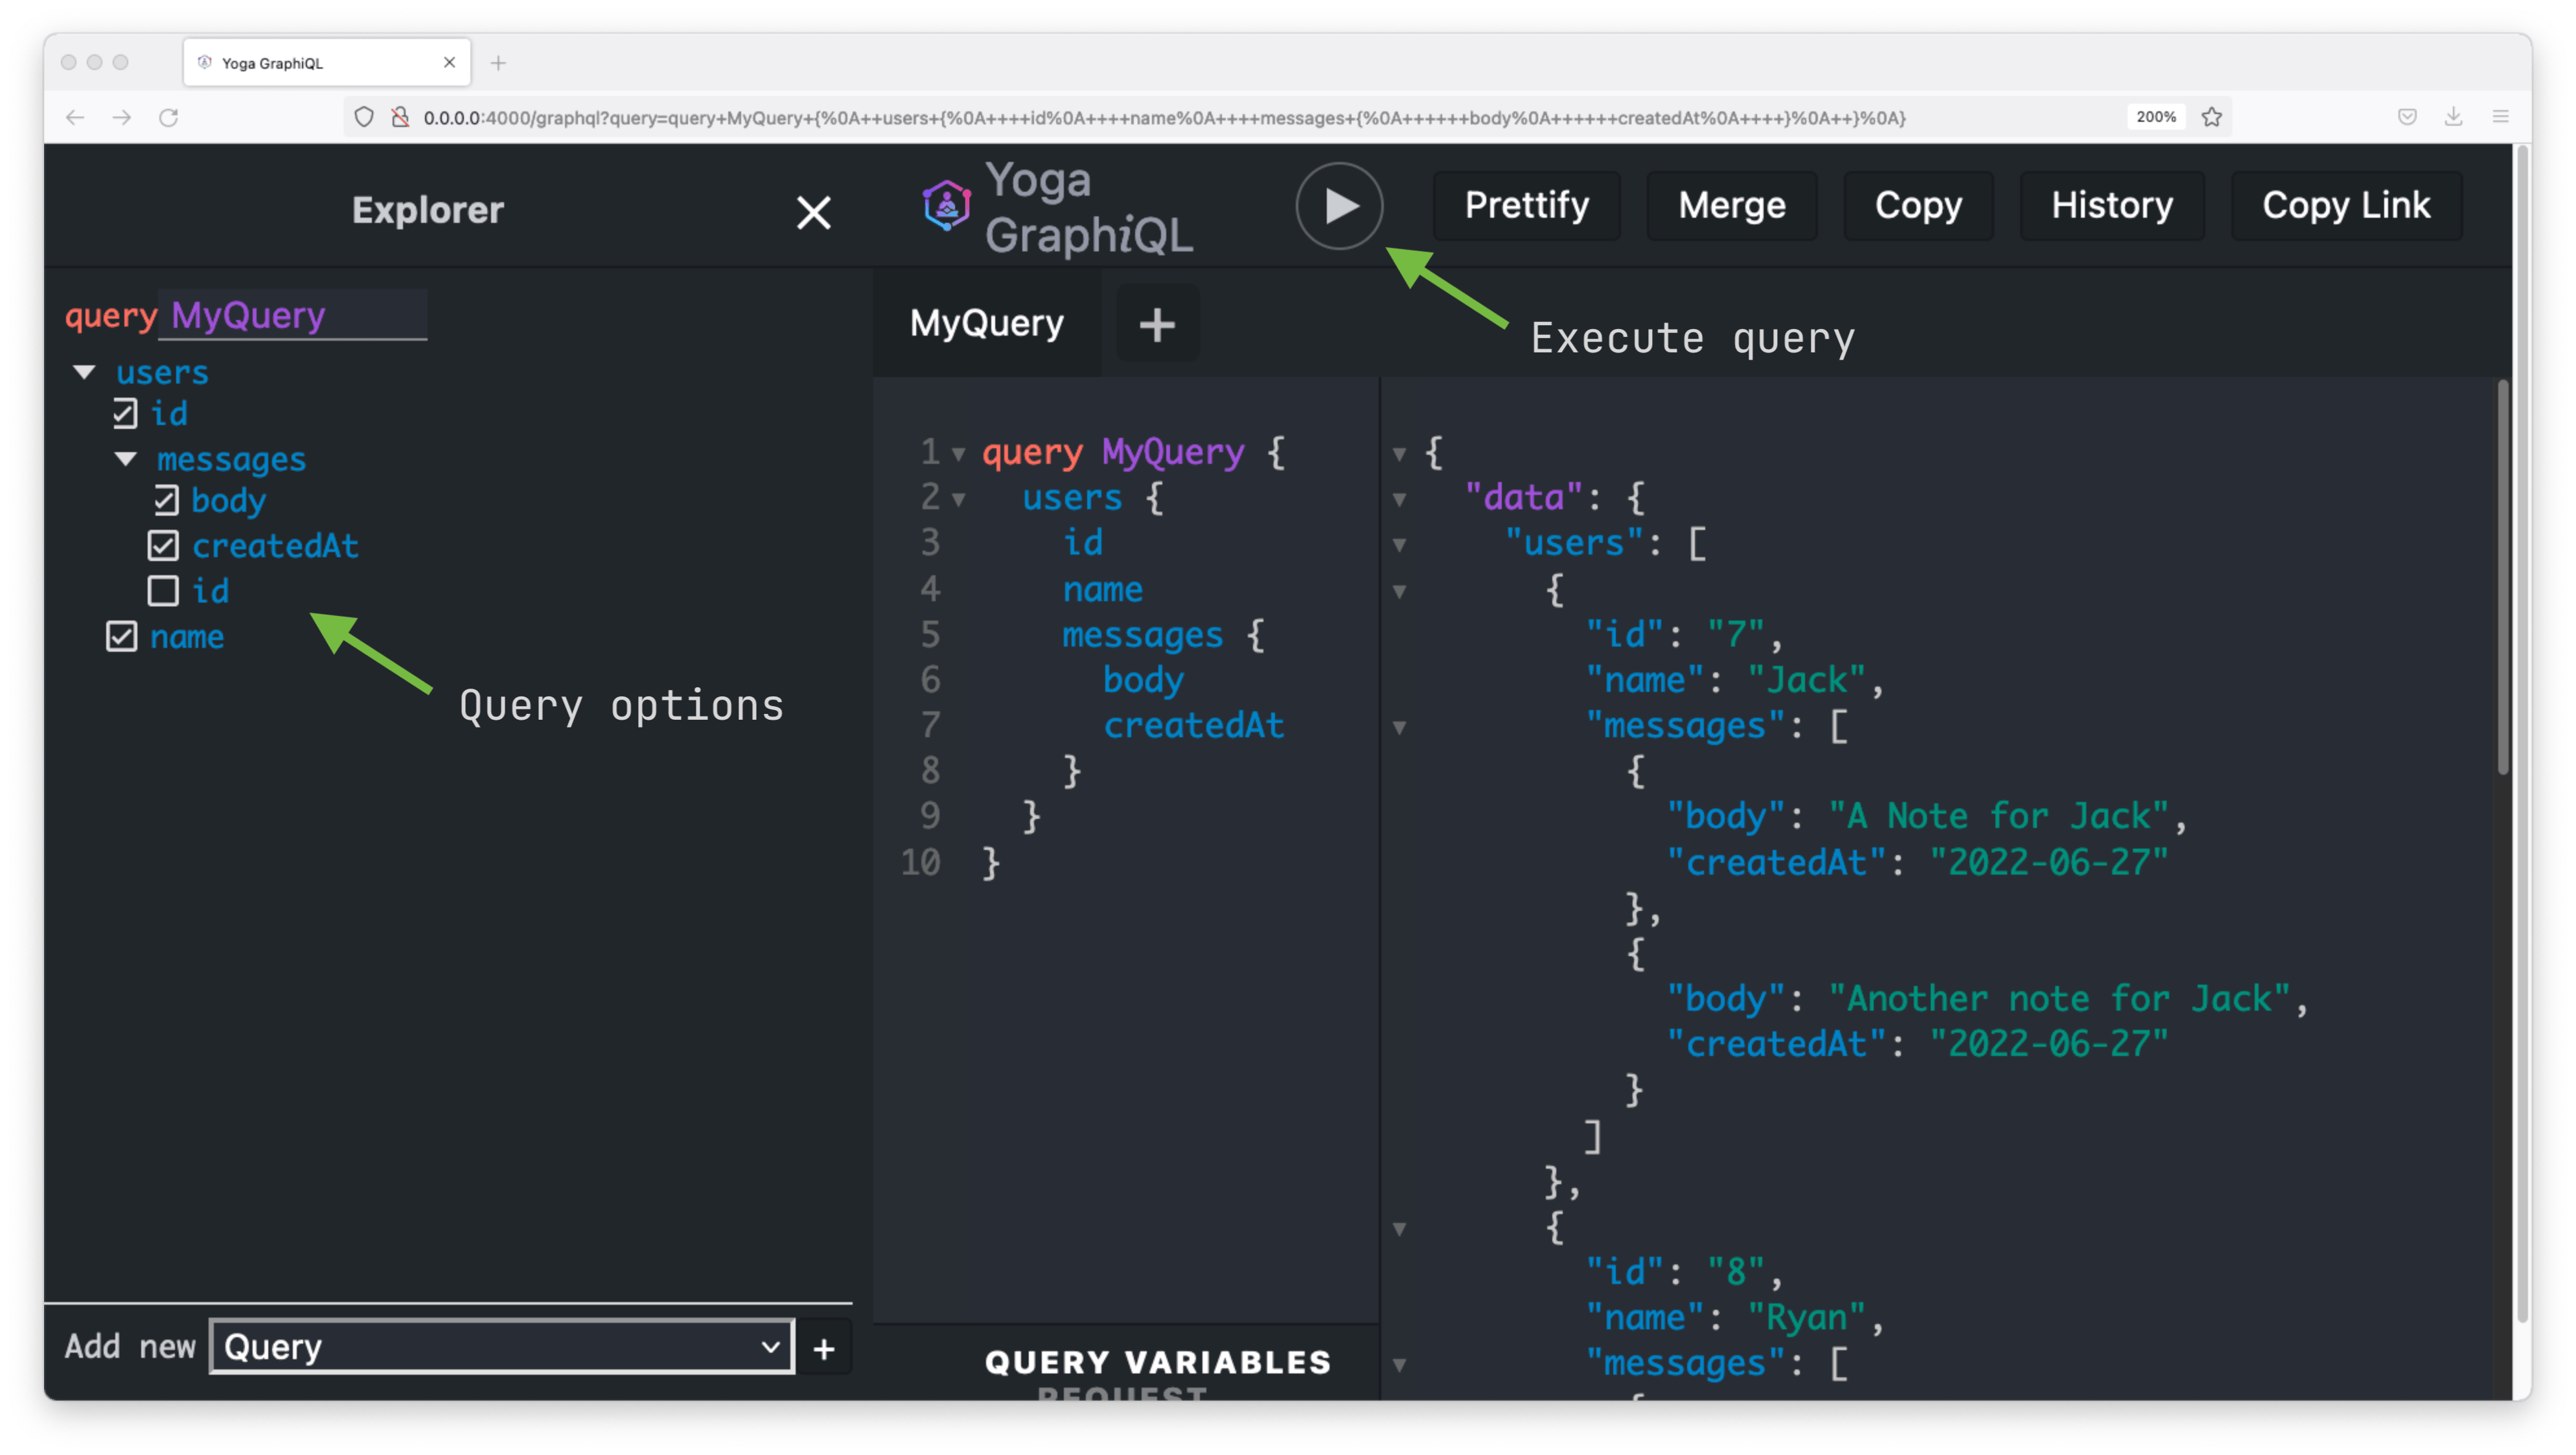
Feel free to play around with the different options to choose which fields you would like to query for and which data from the "messages" relation you would like to include.
Summary & What's next
In this article, you built out your entire GraphQL API. The API was built in a type-safe way by taking advantage of Prisma's generated types. These, along with the Pothos Prisma plugin, allowed you to ensure the types across your ORM, GraphQL object types, GraphQL query types, and resolvers were all in sync with the database schema.
Along the way, you:
- Set up a GraphQL server with GraphQL Yoga
- Set up the Pothos schema builder
- Defined your GraphQL object and query types
- Queried for data using Prisma Client
In the next article, you will wrap things up by setting up code generation to keep the types on your frontend client and API in sync. Then you will deploy your finished application!
Build your next app with Prisma
Start free. Scale when you’re ready.