SQLite
Setting up a local SQLite database
Overview
This page explains how to set up SQLite on your computer.
This guide will cover the following platforms:
Navigate to the sections that match the platforms you will be working with.
If you are using SQLite with Prisma, you can follow our quick start guide, which comes with a ready-to-go database.
Setting up SQLite on Windows
The SQLite project provides a zipped bundle of tools that include the sqlite.exe file that you need to create and interact with SQLite databases from the command line.
Visit the SQLite download page to find a link to the zip file. The archive file you need is under the Precompiled Binaries for Windows section and begins with sqlite-tools:
Save the file to a convenient location.
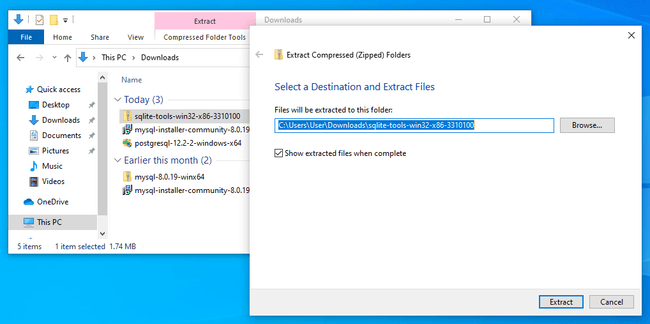
Next, open the File Explorer on your computer and navigate to the location of the zip file you downloaded:
Right-click the file and select Extract All... to bring up a new extract window:
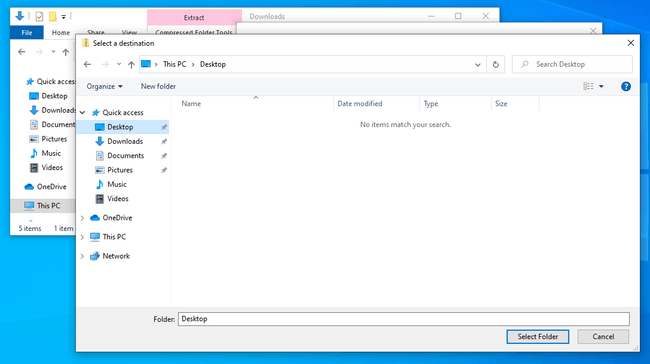
Click Browse... to select a convenient location to extract the archive's content. For example, to extract the content to the Windows Desktop, select This PC followed by Desktop:
After selecting a folder, click Extract.
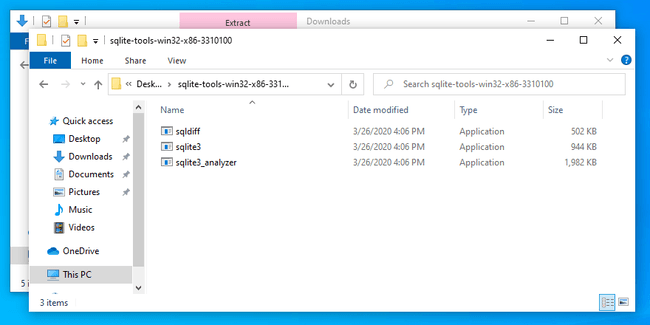
A new folder should be created at the location you specified containing the SQLite tools:
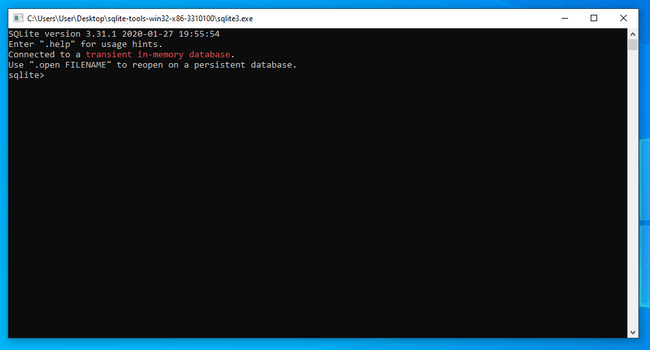
If you click the sqlite3.exe application, a new window will appear with an interactive SQLite session:
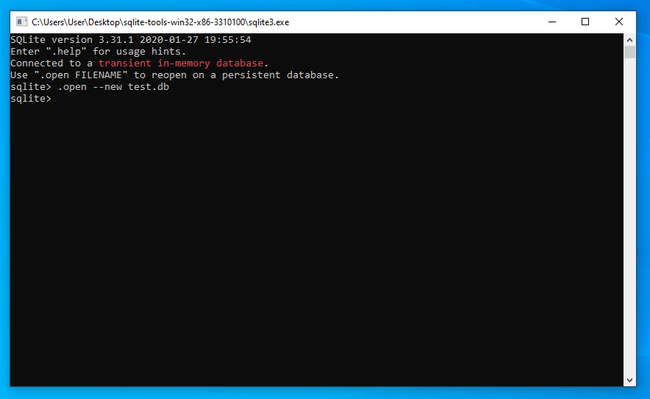
Notice that SQLite is currently using an in-memory database. This means that it is not reading from or writing to a file currently.
To make SQLite write to a new database file, type .open --new followed by the database file name you wish to use:
This will save your existing changes to the given file and continue to use it for the remainder of the session.
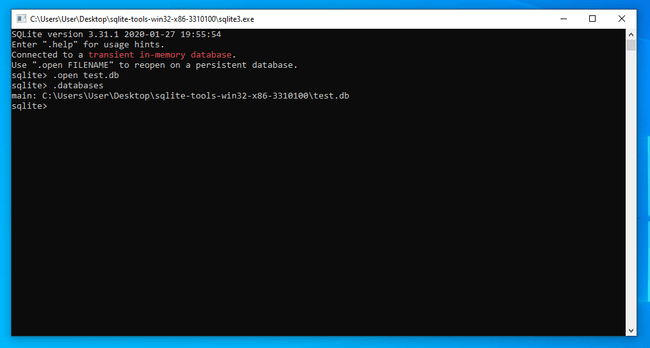
To open up an existing database file, use the .open command without the --new flag:
You can use the .databases command to verify that the database file is being used. Type .quit to exit.
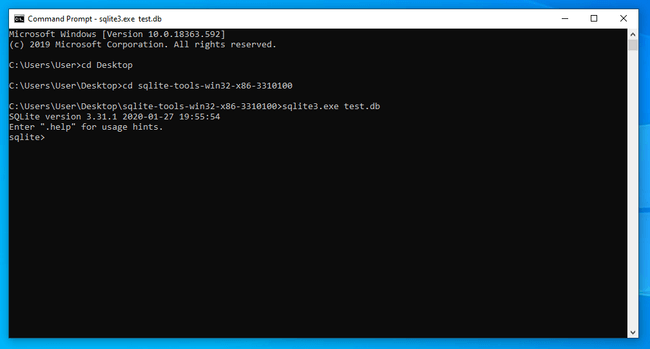
To access SQLite from the Windows Command Prompt, start a new Command Prompt session from the start menu. Navigate to the folder containing the sqlite3.exe file using cd. Afterwards, you can execute the application along with a database file to use SQLite with the given file:
Type .quit to exit the SQLite session when you are done.
Setting up SQLite on macOS
The SQLite project provides a zipped bundle of tools that includes the sqlite3 command line tool.
Visit the SQLite download page to find a link to the zip file. The archive file you need is under the Precompiled Binaries for Mac OS X (x86) section:
Save the file to a convenient location.
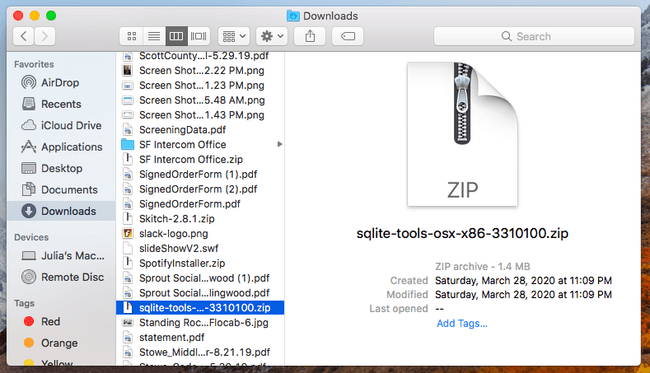
Open the Finder file manager and navigate to the location of the zipped archive:
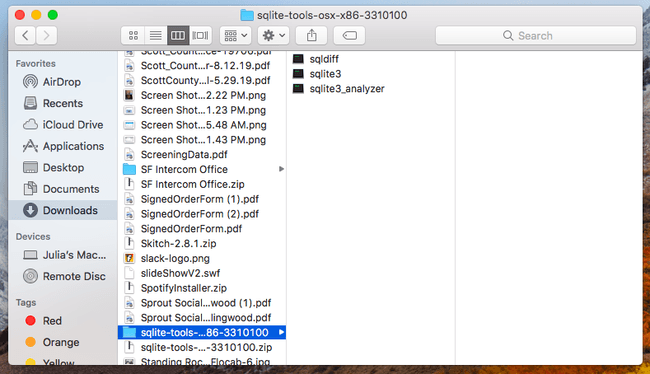
Double-click the zip file to extract the contents to a new directory. Inside, you will see a few utilities, including the sqlite3 tool:
Open your terminal and navigate to the extracted SQLite directory using cd. Run the sqlite3 executable by calling it from the command line:
If you run the command without any arguments, SQLite will use an in-memory database:
This means that it is not reading from or writing to a file currently.
To make SQLite write to a new database file, type .open --new followed by the database file name you wish to use:
This will save your existing changes to the given file and continue to use it for the remainder of the session.
You can verify the new file is being used with the .databases command:
To open up an existing database file, use the .open command without the --new flag:
Type .quit when you are finished to return to the command line shell:
To start SQLite with a database file already selected (even if it does not yet exist), provide the database file after the sqlite3 command:
Again, type .quit when you are finished to return to the command line shell:
Setting up SQLite on Linux
Installation methods differ depending on method you use prefer. Follow the section below that matches your needs:
Install using the zipped SQLite tools for Linux
The SQLite project provides a zipped bundle of tools that includes the sqlite3 command line tool.
Visit the SQLite download page to find a link to the zip file. The archive file you need is under the Precompiled Binaries for Linux section:
Save the file to a convenient location.
Use the unzip program or a graphical file manager to extract the contents of the archive:
Navigate into the extracted archive using cd. Run the sqlite3 executable by calling it from the command line:
If you run the command without any arguments, SQLite will use an in-memory database:
This means that it is not reading from or writing to a file currently.
To make SQLite write to a new database file, type .open --new followed by the database file name you wish to use:
This will save your existing changes to the given file and continue to use it for the remainder of the session.
You can verify the new file is being used with the .databases command:
To open up an existing database file, use the .open command without the --new flag:
Type .quit when you are finished to return to the command line shell:
To start SQLite with a database file already selected (even if it does not yet exist), provide the database file after the sqlite3 command:
Again, type .quit when you are finished to return to the command line shell:
Install from your distribution's repositories
The sqlite3 command line tool is available in almost all Linux distribution repositories. You can download and install your distribution's package instead of downloading the standalone SQLite zip archive.
The exact commands you need depend on the distribution you are using.
For Debian and Ubuntu, use the apt package manager.
Update your local index of available packages and install SQLite by typing:
For CentOS, use the yum package manager:
For Fedora, use the dnf package manager:
After installing SQLite, you can use it by running the sqlite3 command:
If you run the command without any arguments, SQLite will use an in-memory database:
This means that it is not reading from or writing to a file currently.
To make SQLite write to a new database file, type .open --new followed by the database file name you wish to use:
This will save your existing changes to the given file and continue to use it for the remainder of the session.
You can verify the new file is being used with the .databases command:
To open up an existing database file, use the .open command without the --new flag:
Type .quit when you are finished to return to the command line shell:
To start SQLite with a database file already selected (even if it does not yet exist), provide the database file after the sqlite3 command:
Again, type .quit when you are finished to return to the command line shell:


